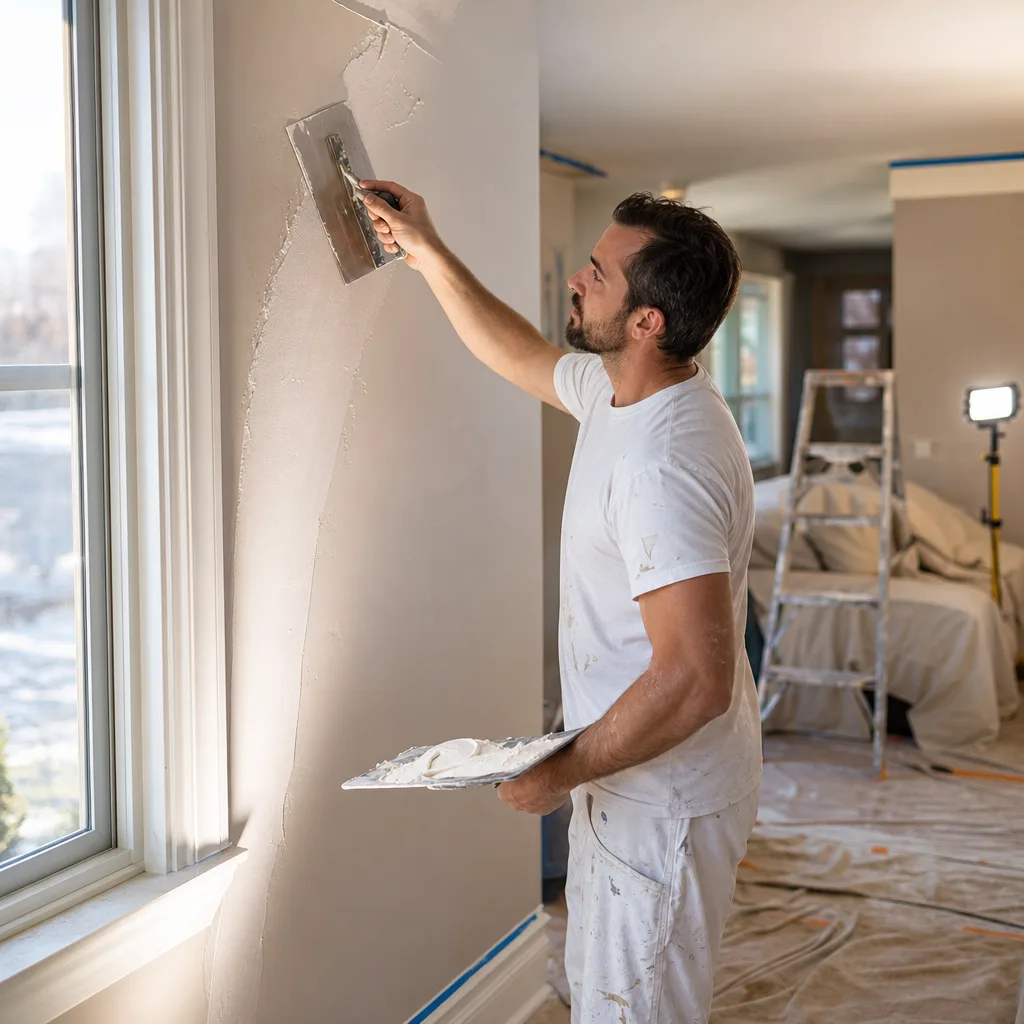
Deciding Whether Your Plaster Needs Finishing Work or a Root-Cause Check
If the flaw is old, dry, and hasn't changed, finishing work alone will usually fix it. If it's growing, coming back, or the surface feels soft or stained, something underneath needs checking before anyone puts fresh plaster over it. Covering an active problem just hides it for a season.
Before you book plaster finishing, look closely at what's wrong with the wall. Some flaws sit only in the surface. Others are a symptom. The fix looks the same from across the room, but it won't last the same.
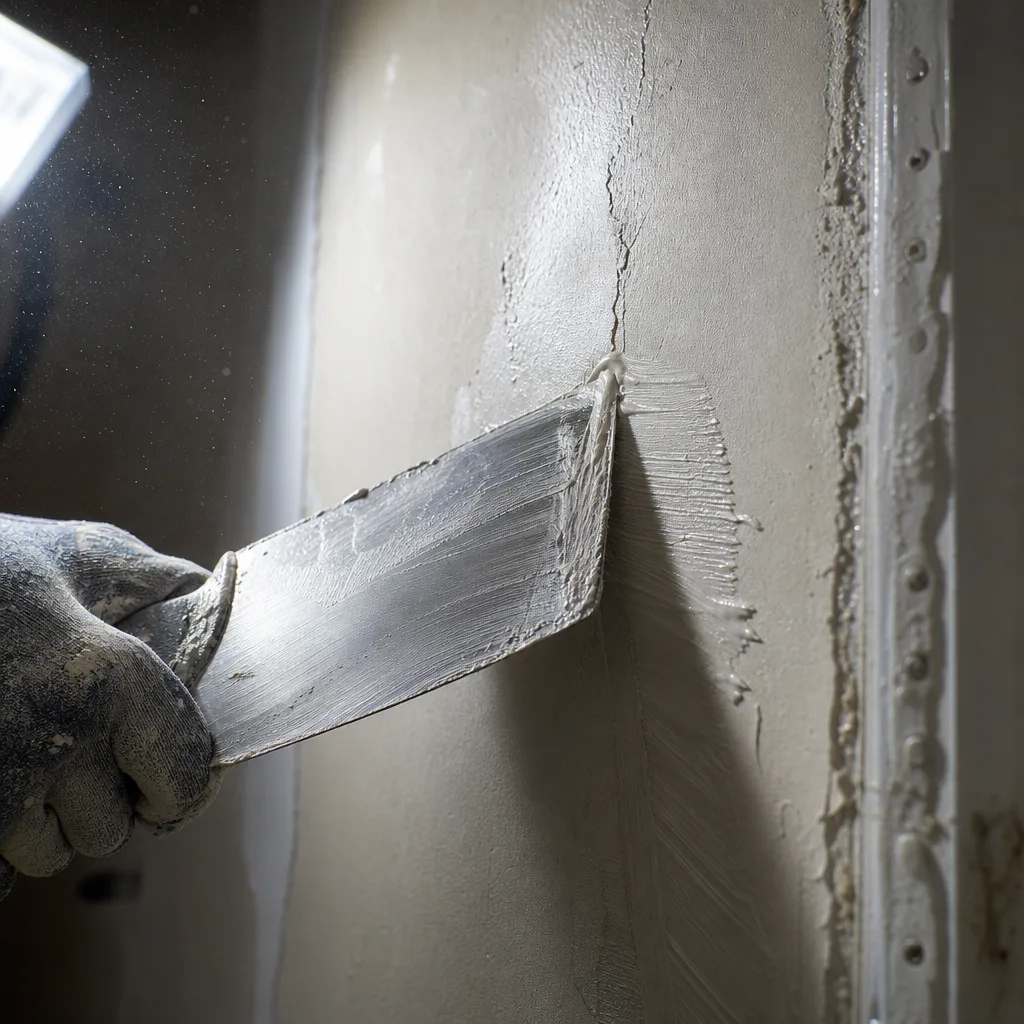
Finishing work alone is usually the right call when the problem is cosmetic and stable:
- Old patch marks, uneven tape lines, or rough spots left from a past repair.
- Walls that look wavy or blotchy when light hits them from the side.
- Small dents, gouges, or holes from anchors, furniture, or a move.
- A surface you want smoother before a new coat of paint, with no cracks or stains.
A root-cause check comes first when the wall is telling you something is still happening behind it:
- A crack you've filled before that came back in the same spot.
- Cracks that run from the corners of doors or windows, or that get wider over time.
- Nail pops or screw heads pushing through the finish.
- Brown rings, bubbling, or a soft, crumbly feel when you press on it.
- Plaster pulling away from the wall or ceiling, or a section that sags.
Here's a common picture. You moved into a newer home in Calgary, and after the first winter you notice hairline cracks over a doorway and a row of small bumps along the ceiling. It's tempting to sand them and paint. But those cracks and nail pops often mean the framing has shifted or dried out, and fasteners have let go. Covering them alone just lets the problem come back.
That's exactly the kind of work we've been fixing since 2004. We fix the cause instead of covering the damage. At the quote, we check for moisture and damage before anything gets scoped. If a stain or soft spot shows up, the moisture source needs to be dealt with first, because wet board or plaster won't hold a finish. If fasteners have failed, they get reset or replaced before the surface work begins. You'll see all of that broken out line by line in the written quote, so you know what's prep and what's finishing.
One more check matters if the work touches a ceiling. Textured ceilings put up before 1990 have to be lab tested before anyone disturbs them. If the result comes back positive, a licensed abatement contractor handles the removal, and our finishing work starts after that.
Not sure which side of the line your wall falls on? Shine a flashlight flat along the surface at night. Flaws that are only skin deep look like shallow shadows. Cracks with sharp edges, raised bumps, or stains point to something worth checking before you finish over it.
Signs Your Plaster Damage Is More Than Cosmetic
The shape, spot, and feel of the damage usually point to the cause. Once you know the cause, you'll understand why one wall needs only a skim coat and another needs work behind the surface first.
Cracks tell you the most if you look at the pattern:
- Fine, web-like cracks spread across a wall are often surface shrinkage. They tend to stay put and are usually cosmetic.
- A straight crack that follows a seam often means the tape or joint let go. The joint gets cut out and re-taped. Mud over the top won't fix it.
- A slanted crack running up from the corner of a door or window points to movement in the framing around that opening.
- A crack where the ceiling meets the wall that opens in winter and closes in summer is seasonal movement. It needs a different approach than a one-time crack.
A long heating season matters here. New framing lumber keeps drying once the house is heated, and it shrinks a little as it does. That's why cracks and nail pops so often show up after a new home's first winter. The fasteners or joints have to be secured before new finish goes on, or the same movement breaks the fresh surface.
Moisture leaves its own clues. A stain with a darker ring around the edge means water soaked in and dried more than once. Paint that bubbles or peels in one patch can mean moisture is coming from behind it. In basements, a white, chalky powder on the surface means water is moving through the wall. Press lightly on any of these spots. If the surface feels soft, crumbles, or gives under your thumb, the gypsum has started to break down. That section usually has to come out, not get covered.
Older plaster walls and ceilings can fail in another way. Traditional plaster is held to the wood strips behind it by small ridges of plaster that squeeze through the gaps. When those ridges break, the plaster can look fine but move when you press on it. You might also hear a hollow sound when you tap it. A loose section like that has to be re-secured or replaced before any finishing coat. New plaster adds weight and won't stop a loose section from coming down.
Not sure if a crack is still moving? Make a small pencil mark at each end and write the date beside it. Check again in four to six weeks. If the crack has grown past your marks, something is still shifting. If it hasn't, it's more likely old and stable, and finishing work alone has a good chance of lasting.
None of these signs means your wall is a disaster. They just mean the quote should cover more than the finish coat. When we measure the job and check for moisture and damage, each prep step gets its own line in the written scope. That way you can see what's fixing the cause and what's making the surface look right.
Not sure what your project needs?
We look at the job in person and put the scope and price in writing. No obligation.
When a Small Touch-Up Doesn't Need a Professional
Not every mark on a wall needs a finisher. If the damage is small, dry, and hasn't changed, you can often fix it yourself in an afternoon with a tub of lightweight filler, a putty knife, and fine sandpaper. Paying someone to come out for a few nail holes doesn't make sense, and we'd rather tell you that up front.
These are usually fine to handle on your own:
- Nail and screw holes left after you take down pictures, shelves, or a TV mount.
- Small dents or dings from a door handle, a vacuum, or furniture that got bumped on moving day.
- A single hairline crack that passed the pencil-mark test and hasn't grown.
- A small chip at an outside corner where the paper or plaster is still solid around it.
- A rough spot or drip left from a past paint job.
The trick with a DIY touch-up is restraint. Use thin coats instead of one thick blob, let each coat dry fully, and sand lightly so you don't scuff the paper or the surrounding paint. Then prime the patch before you paint it. Bare filler soaks up paint differently than the wall around it, so an unprimed patch can show up as a dull or shiny spot once the light hits it.
Be ready for one honest limit. A touch-up fixes the hole, but it won't always hide it. On a flat wall lit by a big window or a hallway light, even a good patch can show a faint outline. If that bothers you on one small spot, a little more sanding and a full repaint of that wall, corner to corner, usually solves it. You don't need a skim coat for that.
Sometimes the right move is to wait, not to fix. If small cracks or nail pops have shown up during the first heating season in a newer home, it can pay to hold off. The framing is still drying, and anything you finish now may crack again before spring. Watch it through a full winter. If the marks stop changing, a simple touch-up may be all you need. If they keep spreading, you'll know it's a cause problem, not a surface one, and you won't have wasted a weekend.
There are also a few things you shouldn't take on yourself, even if the spot looks small:
- Sanding, scraping, or patching a textured ceiling from before 1990 until it's been lab tested.
- Any spot that feels soft, stained, or damp. Filler over wet material won't hold.
- Plaster that moves or sounds hollow when you press or tap it.
- A crack you've already filled once that came back.
Outside of those cases, if your flaw is small and stable, grab the filler and give it a try. The worst outcome is a patch you sand down and do again.
What Happens During a Plaster Finishing Quote and Job
Once you've decided the wall needs more than a weekend patch, here's how it goes. Our lead finisher is your main contact from the first call through the final walkthrough. We quote the job, we lead the finishing, and we check the finished surface.
The quote is free, and we do it in person. Here's what we cover:
- We measure the walls or ceilings that need work.
- We check for moisture and damage, which is the root-cause check described above.
- You get an itemized written scope. Prep and repair work are listed on separate lines from the finishing coats.
That itemized list matters because finishing work isn't priced by the hour of sanding you can see. Across the trade, cost depends on a few things, including the square footage, how many coats the surface needs, and how smooth the final result has to be. Access matters too, such as tall ceilings or stairwells. So does how much repair has to happen before the first coat. We don't publish prices because every wall is different, and each job is quoted in writing after the site visit. When you compare quotes from anyone, ask four questions: What level of finish is included? How many coats? What prep is listed? How will dust be handled?
Level of finish is the question most people don't know to ask. A wall that will sit under a big window or bright pot lights shows every ridge. For walls like that, the whole surface often gets a thin skim coat, called a Level 5 finish, instead of just the joints and patches. Our crew is trained in Level 5 finishing, so you can ask for it by name if your room calls for it.
Plaster finishing generally follows the same order in the trade. First, the cause gets fixed. Then the surface is built up in thin coats, and each coat dries before the next one goes on. Last comes careful sanding. Rushing the drying is how you get shrinkage and soft spots later, so a good finisher won't skip that wait. On larger basement and full-renovation jobs, a boarding and taping crew works alongside our lead finisher. They're trained in dust control and fire-rated assemblies, and they're in your home day to day. If you have a question mid-job, you can contact us directly.
Before anyone calls the job done, we inspect the work under raking light. That's a light held low and flat against the surface, the same idea as the flashlight test from earlier, only stricter. It shows small ridges, tool marks, and low spots before paint makes them permanent. Then we walk the finished surface with you. Painting isn't part of what we do, so the job ends with a smooth surface ready for primer and paint.
We've worked across Calgary since 2004 and completed more than 500 projects. We're licensed, WCB-covered, and insured. Our advertised service area covers all four Calgary quadrants plus Airdrie, Cochrane, Chestermere, and Okotoks.
📞 Call 587-417-5252 Get a Free Written Quote
Want a firm number on your plaster finishing job?
Get a free, itemized written quote before any work starts.
How Plaster Finishing Pricing Works
Plaster finishing isn't sold like a can of paint, with one price per wall. Across the trade, finishers usually price work one of three ways. Knowing which one you're looking at makes any quote easier to read.

- By the square foot. This is common for skim coats and larger finishing areas. The rate changes with the level of finish, so a Level 5 skim over a whole wall costs more per foot than finishing joints and patches.
- By the job. This is a fixed price for a set scope, such as finishing one ceiling or one basement room. It works best when the prep is known before work starts.
- By the hour, often with a minimum charge. This is common for small repairs, because setup, mixing, and cleanup take about the same time whether the patch is big or small.
That's why two quotes for the same wall can look far apart. One finisher may price only the finish coats. Another may include resetting loose fasteners, cutting out a failed seam, and an extra coat for a bright room. The lower number isn't always the better deal. It may just be a smaller job on paper. If a quote doesn't list prep at all, ask whether the cause is being fixed or only covered.
Plaster also has to dry between coats, and that shapes the price too. A finisher can't put three coats on in one visit. Most finishing jobs take several trips over a few days, and each trip carries travel and setup time. One flawed wall and five flawed walls often need the same number of visits, so the cost per wall drops as the job grows.
Hidden damage is the part of pricing nobody can fully predict. A moisture check at the quote shows a lot, but it can't see everything behind a surface. Sometimes a section turns out to be loose or soft only once work begins. In the trade, that's usually handled as added work that gets agreed on before it's done. Before you sign anything, ask any finisher how they handle that situation.
Some costs sit outside a finishing quote altogether. Lab testing for a textured ceiling from before 1990 is its own step. If the result is positive, the licensed abatement contractor prices and does the removal separately. Painting after the surface is finished is a separate job as well.
A few things can help keep your cost down:
- Group your repairs. Getting every flawed wall and ceiling quoted at once means fewer trips.
- Clear the room before the crew arrives, so time goes to the walls and not to moving furniture.
- Match the finish level to the room. A closet or a storage area under the stairs rarely needs the same finish as a living room wall under pot lights.
- Fix leaks before booking. Wet material has to dry or come out first, and waiting on it adds time.
With Calgary Drywall Doctor, you'll know the price before any work starts. We measure the job in person, and each prep and finishing step gets its own line in a free written quote. You can see exactly what you're paying for and decide from there.
📞 Call 587-417-5252 Get a Free Written Quote
Plaster Finishing is part of our drywall finishing work in Calgary. See all drywall services.