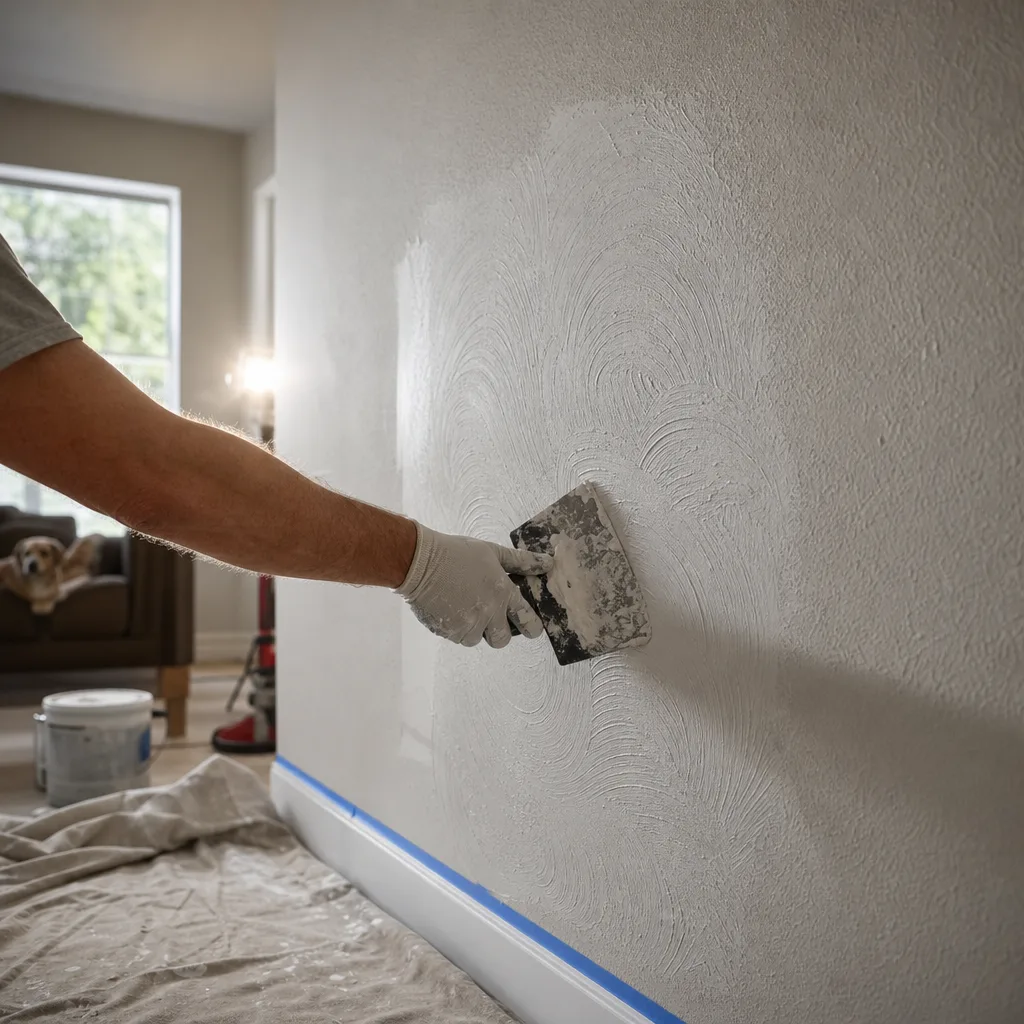
Matching New Texture to an Existing Wall Is the Core Challenge
Putting wall texturing on a wall is easy. Making new texture vanish into texture that's 10 or 20 years old is the real skill. A good match depends on reading the old pattern correctly, testing before touching your wall, and checking the result under hard side light before anyone calls it done.
Most people call us after a repair. A plumber cut a hole, a doorknob went through the board, or a crack got taped and now there's a smooth patch sitting in the middle of an orange peel wall. The repair itself is fixed. The part that still bugs you is that you can see it from across the room. That's the problem this service solves.
Texture looks simple until you try to copy it. Two walls can both be called knockdown and still look nothing alike. The pattern on your wall came from one person's hand, one machine setting, and one batch of mud mixed on one day. To match it, we have to work backward from what's on the wall now.
Here's what changes how a texture looks:
- How thin or thick the mud was mixed. Thin mud makes small, tight spatter. Thick mud makes bigger, raised splats.
- The spray tip size and air pressure. Small changes here shift the size of every speck.
- How far the hopper was held from the wall and how fast it moved.
- For knockdown, how long the mud sat before the knife flattened it. Knock it too early and it smears. Wait too long and it won't flatten.
- For hand textures like skip trowel or swirl, the tool, the angle, and the rhythm of the person doing it.
- How many coats of paint are on the wall. Every coat softens the peaks, so old texture looks flatter than fresh texture.
That last point catches a lot of people off guard. Fresh texture is sharper than texture that's been painted three times. Part of a good match is making the new work a little softer so it sits at the same height as the old once it's primed and painted.
Calgary's dry air adds one more variable. Mud can start to set faster than it would in a humid place, which shortens the window for knocking it down. Timing has to be watched closely on a big wall where one end dries before the other gets sprayed.
Sometimes a patch can't be blended invisibly. If the old texture is worn, uneven, or the patch sits dead center on a wall that gets bright window light, the cleaner fix may be to re-texture the whole wall from corner to corner. Corners and ceiling lines give the eye a natural break, so a slight change in pattern doesn't show. You'll know which option makes sense before work starts, because we measure the job, check the wall for moisture or damage, and write it into an itemized written scope at the in-person quote.
The final test is light. A wall that looks fine with the overhead lights on can show every edge when the sun comes in low through a side window. That's why our lead finisher inspects finished texture under raking light, holding the light flat along the wall so ridges, flat spots, and patch outlines cast shadows. If a patch shows up there, it'll show up in your living room, so it gets fixed before the job is called done.
Checking for Moisture Before Boarding Prevents Texture Failure Later
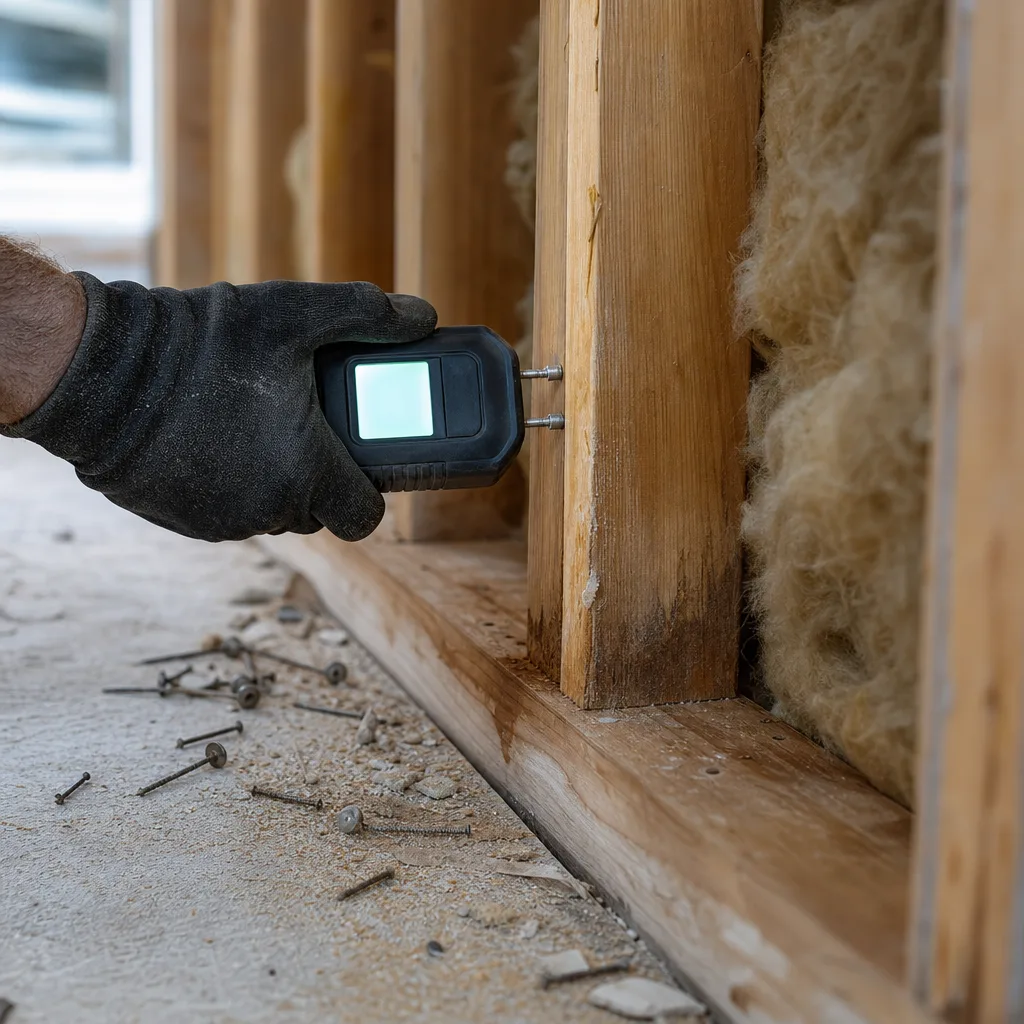
A perfect texture match won't last on a wet wall. Mud needs a dry, solid surface to grab onto. If water is still in the board or the framing behind it, the new texture can bubble, crack, flake off, or show a brown stain right through the paint a few weeks later. Then you're back where you started, with a patch everyone can see.
That's why our business still checks for moisture before boarding, a habit that goes back to our early repair jobs. We check for moisture or damage at the in-person quote, before any mud is mixed. It's a quick step. Skipping it is how a clean texture job turns into a callback.
Here's what wet drywall does to texture over time:
- The paper face goes soft, so the new texture has nothing firm to hold onto and can peel or blister.
- Water carries stains from inside the board out to the surface, and they bleed through primer and paint.
- The board can swell and then shrink as it dries, which opens hairline cracks through the texture.
- Mold can start growing behind the surface, where you won't see it until it's a bigger problem.
In Calgary, the weather gives water a few ways in. Chinooks can melt snow on a roof in the middle of winter, and that water can back up under shingles or around a window before it freezes again. Spring melt puts pressure on basement walls. A bathroom wall next to a shower that's been leaking slowly for months can look dry outside and still be damp inside. None of these always show up as a wet spot you can touch.
Pay attention to clues like these before you book texture work:
- A yellow or brown ring on the wall, even an old one.
- Paint that's bubbled or peeling in one area.
- Drywall that feels soft or gives a little when you press it.
- A musty smell in a closet, bathroom, or basement corner.
- Texture that cracked again after someone already patched it.
If the wall is wet, texture isn't the next step. The source has to be fixed first, and that's usually a job for a plumber or roofer, not a drywall finisher. After that, the wall needs time to dry out fully. Any board that's soft, stained deep through, or crumbling gets cut out and replaced. Texturing over damp board to save a few days just puts the problem behind a nicer surface.
If the wall checks out dry and solid, we can move straight to repair and texture. If it doesn't, you'll see that written into the itemized written scope, so you know what has to happen before texture goes on and why. For finished basements where moisture is the bigger story, our basement drywall work covers that side of things.
Matching the old pattern is the skill people notice. Making sure that match is still invisible next year starts with a dry wall underneath it.
Not sure what your project needs?
We look at the job in person and put the scope and price in writing. No obligation.
Older NW Calgary Homes May Need Texture Tested Before Any Work Begins
If your house was built before 1990, one check comes before any matching or moisture testing: what's in the old texture. Older texture, and sometimes the joint compound under it, can contain asbestos. You can't tell by looking. A popcorn ceiling from the late '70s and one from the mid '90s can look the same from a ladder. The only real answer comes from sending a small sample to a lab.
Our rule on this doesn't bend. Pre-1990 ceiling textures require lab testing before we work on them. If the result comes back positive, a licensed abatement contractor handles removal. Calgary Drywall Doctor doesn't remove asbestos. That's a separate trade with its own licensing, and it should be.
You might wonder why this matters on a wall job. It's because almost every texture job starts by disturbing what's already there. Blending new texture into old usually means some of this:
- Cutting out a damaged or water-stained section of board
- Sanding the edges of a patch so the new mud feathers in
- Scraping off loose or flaking texture so fresh mud can bond
- Knocking down high spots before the new pattern goes on
- Working up to a ceiling line where the old ceiling texture gets touched
Each of those steps makes dust. If the old material is clean, that dust is just a mess to vacuum up. If it isn't, the dust spreads through the room and into the air you breathe. Paint doesn't solve this. Three coats of paint over old texture don't change what's in the material underneath. They only hide it until somebody cuts or sands.
A lot of northwest Calgary's older communities were built out before 1990. Houses from that era often still have original walls and ceilings under a few rounds of paint. Here's a common setup: you've got a hole in a hallway wall in a 1970s bungalow, and the ceiling above still has its original popcorn. Patching the wall seems simple. If the work runs up into that ceiling line, the ceiling texture needs testing first.
Here's the other side of it. If your home was built after 1990, testing usually isn't the question. It also may not apply if the wall was fully replaced with new board during a past renovation. Not every older house is a problem either. Plenty of tests come back clean, and then the job just moves ahead. The point isn't to assume the worst. It's to stop guessing.
If you're not sure when your house was built, or whether past owners redid any walls or ceilings, bring that up at the quote. We do every quote in person, so the age of the home and the texture in question get looked at on site. Then the written scope can show what has to happen before texture work starts. Waiting on a lab result is a small delay. Finding out after the dust has already moved through your house is a much bigger one.
Basement Development Walls Need Texture That Matches the Rest of the Home
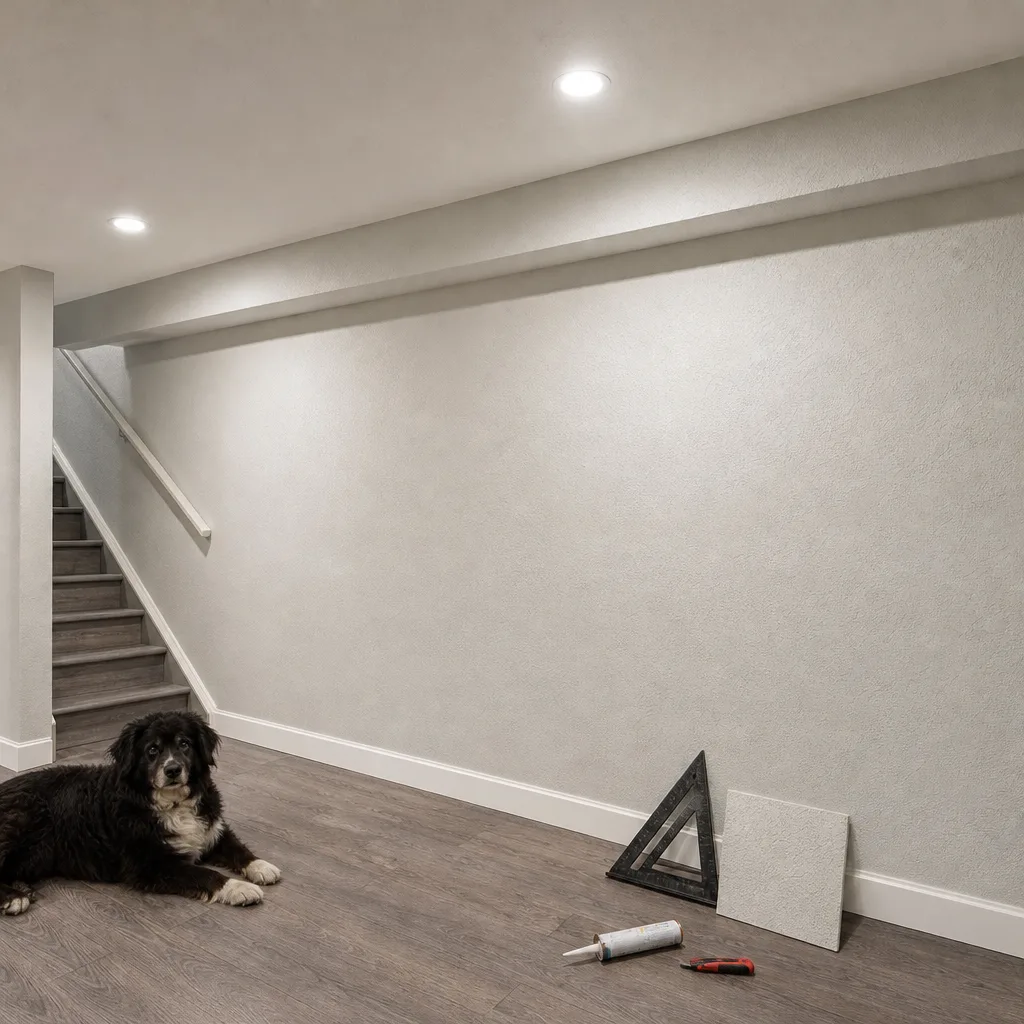
A finished basement is the one place in your house where every wall is brand new. That sounds like it should make texture easy. In some ways it's harder. Upstairs, the walls have years of paint on them and a pattern somebody sprayed long ago. Downstairs, you're starting from bare board. If the basement doesn't match, you notice it the second you walk down the stairs. It feels like a different house.
So the first question isn't how to texture. It's what you want the basement to look like next to the rest of your home.
You've really got three choices:
- Match the upstairs pattern so the stairwell and basement flow into the main floor. This makes the most sense when the stairs are open and you can see both levels at once.
- Go smooth. If your upstairs walls are already smooth, or you want a cleaner modern look in a media room or home office, a smooth finish is a fair choice. It takes careful finishing, because smooth walls hide nothing.
- Pick a new texture just for the basement. This works when a door closes off the stairs and the basement feels like its own space anyway.
There's no wrong answer here. If you don't care about matching, you don't need to pay for the extra time it takes. Just say so at the quote and we'll write the scope around the finish you want.
If you do want a match, the stairwell is where it counts. That's the one spot where old texture from the main floor meets new texture on fresh board. It's the same matching job described above, with one difference. The new basement walls don't have years of paint softening them, so the new pattern has to be built to look right once it's primed and painted, not just the day it's sprayed.
Texture also can't cover for bad taping. On new board, every seam, screw, and corner bead needs to be taped and mudded flat before any texture goes on. A heavy pattern might hide a rough seam in dim light. But basements usually rely on pot lights, and a pot light set close to a wall throws light across the surface at a low angle. That shows every ridge and bump in the taping, texture or not.
On larger basement and full renovation projects, a boarding and taping crew works alongside our lead finisher. The crew is trained in dust control, fire-rated assemblies, and Level 5 finishing, and they're in your home day to day. Our lead finisher handles the finishing work, so the same person who matched your upstairs pattern is the one checking that the basement walls line up with it.
Before any of that, the walls still need the moisture check covered earlier. That matters even more below grade. Once you've decided how you want the basement to look, the itemized written scope will spell out the finish, where the match happens, and what's included, so there's nothing to guess about.
📞 Call 587-417-5252 Get a Free Written Quote
Want a firm number on your wall texturing job?
Get a free, itemized written quote before any work starts.
When a Wall Does Not Need Professional Texturing
Not every flaw in a textured wall needs a pro. Some jobs are small enough that you can handle them yourself. Others are in spots where a perfect match doesn't matter. And some walls should just be left alone for a while. Here's the honest version.
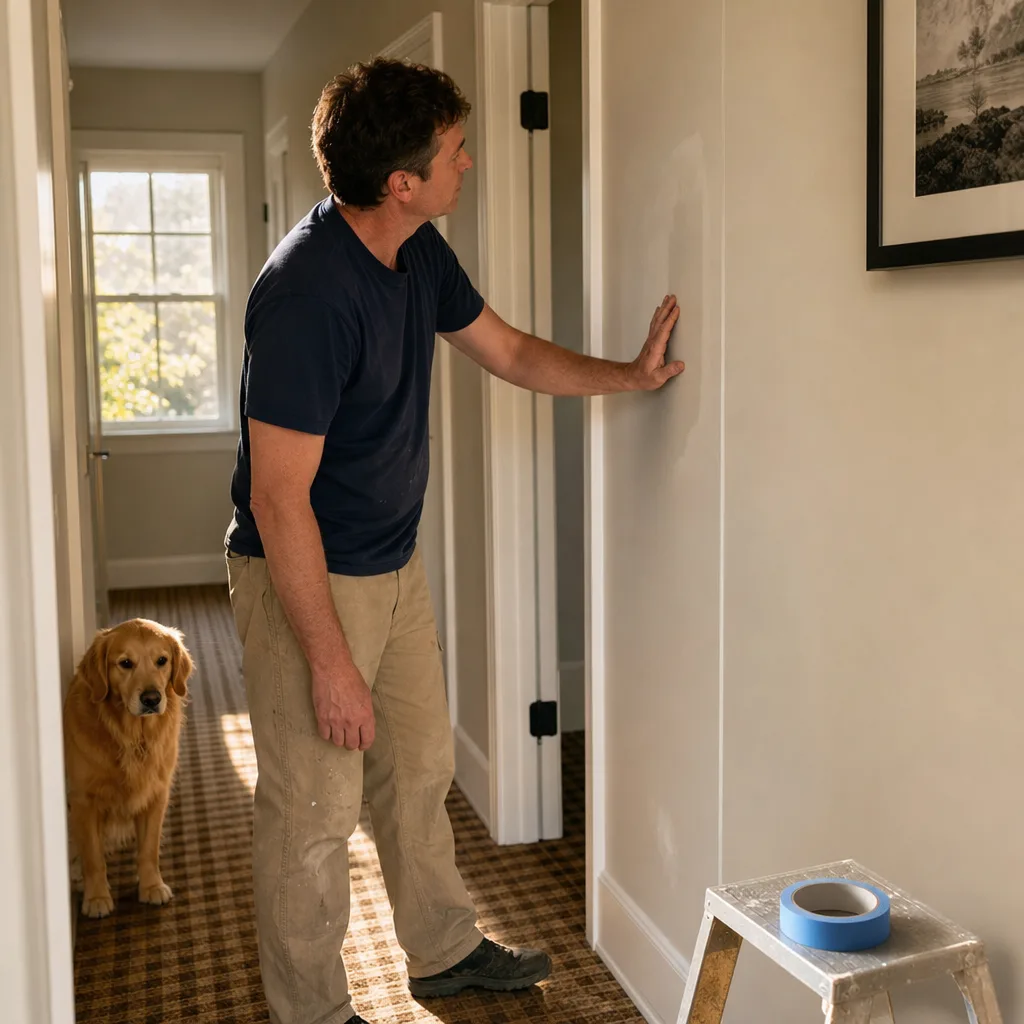
You can probably skip hiring someone if:
- It's a few nail holes or a tiny ding. A dab of patching compound and a can of spray texture from the hardware store can cover small spots on orange peel or light knockdown. It may not be perfect up close, but on a busy wall it'll likely disappear once it's painted.
- The wall is somewhere nobody looks. A patch inside a closet, behind a washer and dryer, in a utility room, or on a garage wall doesn't need a careful match. Fix the hole, paint it, and move on.
- Furniture or cabinets will cover it. If a bookcase, a headboard, or a TV unit sits in front of the patch, spending money on a hidden match doesn't make sense.
- It's a hairline crack in the paint, not the board. Some fine lines are just old paint cracking at a corner or seam. A little caulk or touch-up paint might be all it needs.
- You want smooth walls anyway. If you're planning to switch to a smooth finish, matching the old texture isn't the job. That's a different conversation.
Spray-can texture has limits. It works on small areas and lighter patterns. On a patch bigger than your hand, on heavy knockdown, or on a hand-troweled finish, it tends to look like a patch. If you try it and don't like it, scraping it back and starting over is usually easy while it's still small.
Then there are times you should wait before anyone touches the wall.
If your house is brand new, give it a winter. New homes in Calgary often show small cracks and nail pops after their first winter as the framing dries out and settles. If you fix every little pop the week you move in, more can show up a few months later. It often makes more sense to let the house settle, then deal with everything in one go.
If the wall might be wet, wait for the source to be found and fixed, for the reasons covered above. If your home was built before 1990 and the work could disturb old ceiling texture, wait for a lab result first. Neither of those is a reason to rush.
If you're about to do other work in the same room, wait for that too. If an electrician is adding outlets, a plumber is opening a wall, or you're swapping out a window, more holes are coming. Texturing once, after all the cutting is done, beats texturing twice.
Call someone when the patch is large, sits in plain view, gets strong side light from a window, or has already been patched once and still shows. Those are the spots where reading the old pattern and checking it under raking light pay off. If your wall isn't one of those, you may not need us, and that's fine.
Wall Texturing is part of our drywall finishing work in Calgary. See all drywall services.