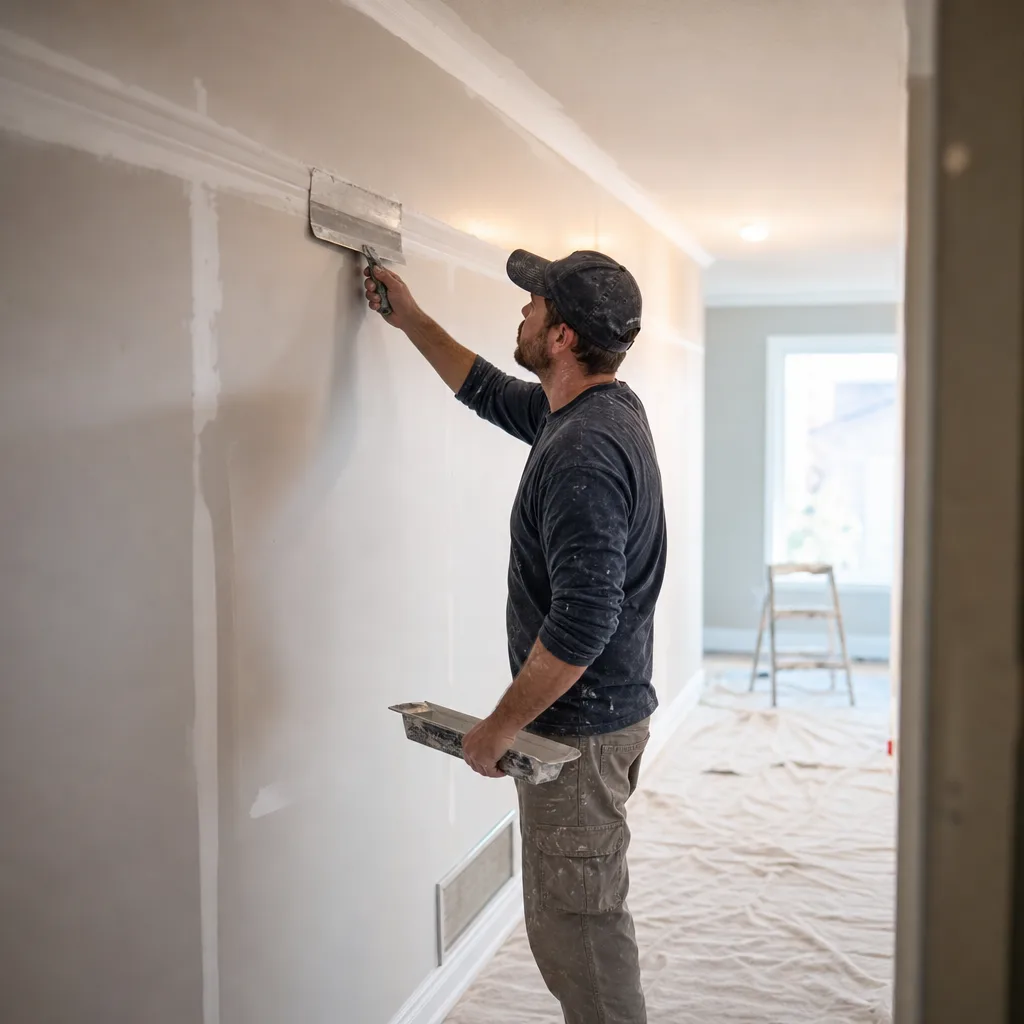
Need Taping and Mudding?
We look at the job in person and put the scope and price in writing. No obligation.
Why Taping and Mudding Cracks Return After Calgary Winters
Cracks at drywall seams usually come back because the house moved and the repair didn't account for it. Calgary's dry winter air, long furnace season, and fast temperature swings make wood framing shrink and shift. A fix that lasts has to find that movement first, then tape and mud in a way that can handle it.
Taping and mudding doesn't fail on its own. When a seam cracks a second or third time, something behind it is moving. A fresh skim of mud over the line won't stop that. You're just painting over the symptom.
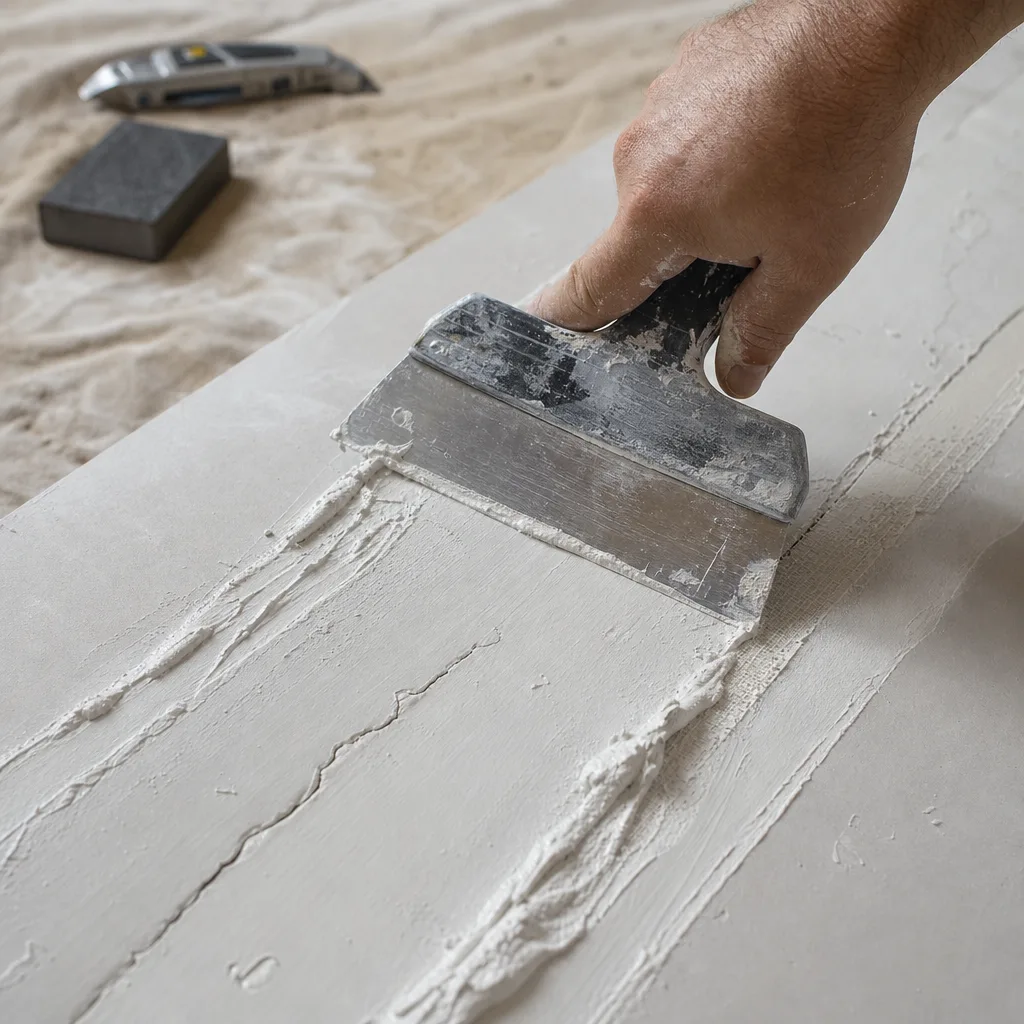
Calgary is hard on drywall. Winters are long and the air is dry, so the furnace runs for months and pulls even more moisture out of the house. Chinooks can swing the temperature a lot in a day or two. Wood framing reacts to all of that. Studs and joists shrink as they dry out, and they keep shifting a little as the seasons change. Drywall is stiff, so when the wood moves, the weakest spots give first. Those spots are the taped seams, the inside corners, and the screws or nails.
Around 2004, Josh was taking repair jobs for neighbours and friends, often fixing cracks and nail pops that showed up after a new home's first winter. Referrals grew because he fixed what was causing the damage, not just what was showing on the wall.
Here's what usually sits behind a crack that keeps coming back:
- Mud with no tape. A crack filled with compound alone has nothing holding it together, so the next bit of movement splits it again.
- Tape that never bonded. If there wasn't enough mud under the tape, it can bubble, lift, or crack along its edge.
- Shrinking framing. As studs dry, they let go of the fasteners. That's when you see nail pops, the small round bumps that show up in rows.
- Ceiling and wall joints pulling apart. A crack where the ceiling meets an outside or upper wall, one that opens in winter and closes in summer, points to the framing above moving with the seasons.
- Moisture. A slow leak, a damp basement wall, or condensation softens the board and the compound, and no amount of re-taping will hold.
The pattern of the damage tells you a lot. A single crack running off the corner of a door or window means something different than a long crack along a ceiling seam. A cluster of nail pops means something different than one bubble in the tape. Picture a crack along your living room ceiling that you've filled twice. It looks fine all summer, then by February it's a thin dark line again. That repeat is the clue. The seam is following the house as it moves.
So a real repair starts with looking, not mudding. Loose or failed tape has to come off. Popped fasteners need to be reset so the board is held tight to the framing again. Any moisture needs to be found and dealt with before the wall gets closed back up. That's why Calgary Drywall Doctor checks for moisture before boarding. Only then does fresh tape and compound go on in layers, each one feathered out so the repair blends into the wall.
The last check happens under raking light, a light held low and close to the wall so it shines across the surface. Ridges, edges, and hairline cracks that disappear in normal room light show up plainly. A seam that looks smooth from the doorway but casts a shadow under raking light will show through your paint later. It's far better to catch that before the painter arrives than after.
Checking for Moisture Before Boarding Prevents Repeat Failures
Water is the one problem good taping can't beat. You can bed the tape perfectly and feather every coat, and it still won't last if the board or framing behind it is damp. That's why the moisture check comes before the first sheet goes up, not after the wall is finished.
Drywall is gypsum pressed between paper. When it gets wet, the paper softens and the core loses strength. Joint compound needs a dry, solid surface to grip. On damp board, the mud may not bond, the tape can blister or peel, and screws can lose their hold. Damp paper and wood also feed mold, and you won't see it until it stains through the paint or you notice a musty smell.
Once the wall is closed and painted, you've hidden the problem. A few months later you're looking at bubbled tape, a soft spot, or a brown ring, and the only real fix is cutting it open again.
In Calgary homes, moisture tends to come from a few places:
- Basement foundation walls. Concrete can pass dampness through, especially in spring when snow melts against the house. Framing and board set too close to a damp wall pick that up.
- Exterior walls and ceilings under the roof. Chinooks can melt snow fast, then it freezes again. That cycle can push water into spots you wouldn't expect.
- Bathrooms and laundry areas. A slow drip at a supply line or a shower that isn't sealed can soak a wall cavity long before anything shows on the surface.
- Old damage that was never dried out. A past leak that got painted over can leave the board weak, even if the stain looks old.
Here's a common case. You're finishing your basement and the framing is up. One corner looks a little darker than the rest, and the concrete feels cool and damp behind it. Boarding over that corner is quick and easy. It's also how you end up redoing that wall in two years.
Calgary Drywall Doctor checks for moisture before boarding. Josh does every quote in person. He measures the job and looks for moisture or damage while he's there. What he finds goes into an itemized written scope, so you know what's going on before any work starts.
If there's water, the source has to be fixed first, and that may be a job for a plumber, roofer, or foundation trade. Drying out a damp wall and stopping the leak isn't extra work. It's what lets the taping and mudding hold.
What Professional Taping and Mudding Involves
Good taping and mudding is a series of thin layers, and each one has its own job. Skip a step or rush the drying, and the seam might look fine for a while. Then it shows up again under paint, or it cracks the next time the house shifts. Here's how the work goes once the wall is dry and ready.
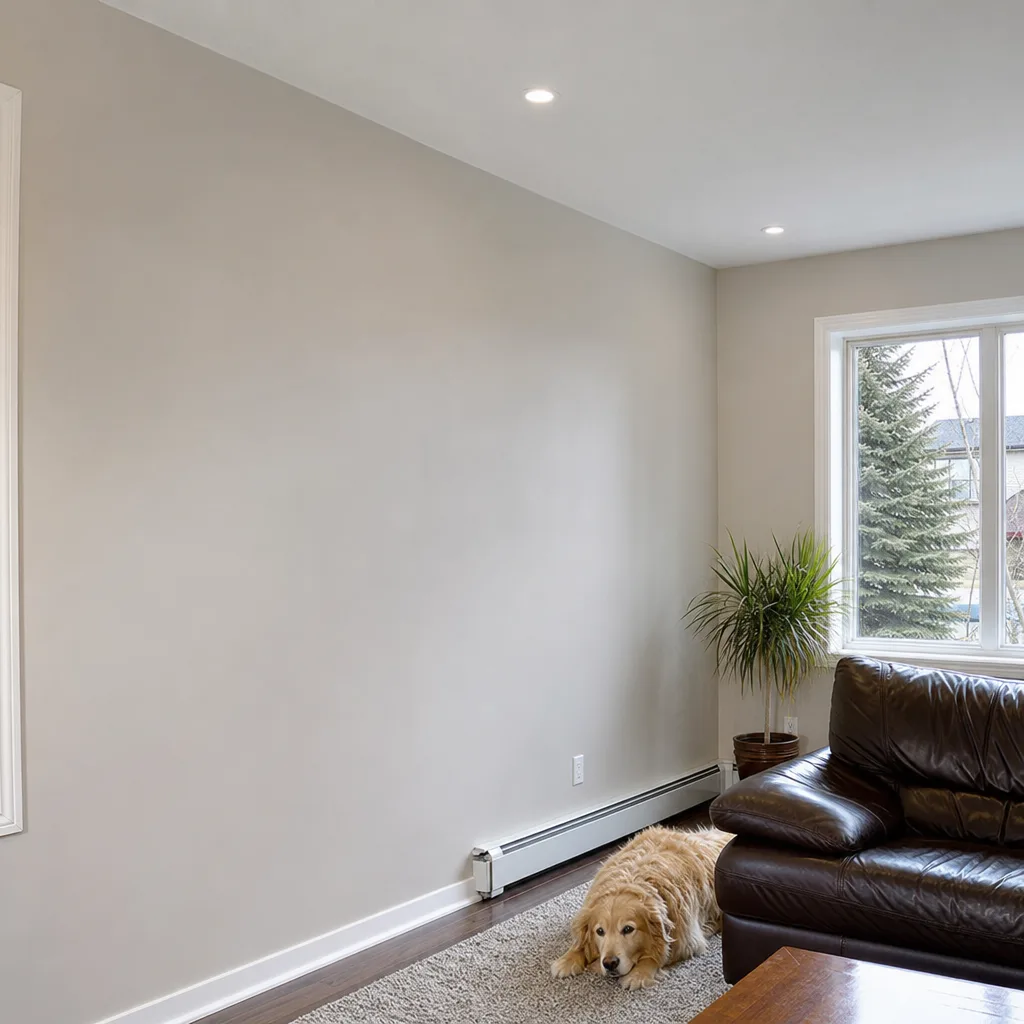
- Prep the surface. Loose paper gets trimmed, popped fasteners get reset, and any gaps between sheets get filled first. Tape can't fix a board that isn't tight to the framing.
- Bed the tape. A full layer of compound goes on the seam, the tape gets pressed into it, and the extra mud gets squeezed out from underneath. Enough mud under the tape is what keeps it from bubbling or lifting later.
- Protect the corners. Inside corners get folded tape. Outside corners get corner bead, so a bumped vacuum or a moving box doesn't chip them.
- Build the coats. Each coat after the first goes on a little wider and thinner than the last. That feathering spreads the joint out so your eye can't find the edge.
- Let it dry. Every coat needs to dry fully before the next goes on. Calgary's dry furnace air can speed that up, but a cold basement or a damp spring week can slow it down. Mud put on over soft mud can shrink and crack.
- Sand and check. Light sanding takes off ridges without scuffing the paper. Then comes the raking light check described above, and any low spots get another pass.
Not every wall needs the same finish. A garage or a utility room can be fine with tape and a couple of coats. A living room wall that will get paint needs smooth, feathered seams. Some walls need more than that. If you're using flat or glossy paint, or if a big south-facing window throws low winter sun across the wall, even good seams can show through. That's when a Level 5 finish makes sense. It's a thin skim coat over the whole surface, so the paper and the mud look the same once the paint is on. Our crew is trained in Level 5 finishing.
A few other details matter, and they don't show in photos. Some walls are part of a fire-rated assembly, like the wall between an attached garage and the house. Those walls need the right board and a full joint treatment. Our crew is trained in fire-rated assemblies. Sanding also makes fine dust that drifts all over a house. The crew is trained in dust control, which matters because they're working in your home every day.
At Calgary Drywall Doctor, Josh leads the finishing work himself. On larger basement and full-renovation jobs, a boarding and taping crew works alongside him. Your itemized written scope spells out which areas are getting which finish, so nothing is left to guesswork. If you have a question partway through the job, you can contact Josh directly.
Need help with Taping and Mudding?
Calgary Drywall Doctor is ready to help.
Verifying the Finish With a Raking-Light Inspection
Paint doesn't hide flaws. It shows them. Bare joint compound is flat and chalky, so small ridges blend in. Once primer and paint go on, the sheen catches every bump and edge. That's why the finish gets checked before anyone opens a paint can. After paint, a fix means sanding, more mud, more primer, and repainting the whole wall so the patch doesn't stand out.
At Calgary Drywall Doctor, Josh does the final raking-light inspection himself, and he leads the final walkthrough with you. You don't have to take anyone's word for it, though. You can check the work with your own eyes, and you should.
Wait until the last coat is fully dry. Wet compound looks darker and can fool you. Then turn off the room lights, or wait until evening. Hold your phone flashlight flat against the wall and point it along the surface, not straight at it. Walk it slowly down each seam, around each corner, and over each row of screws. Also look at any wall that gets low winter sun through a big window, since that light will show what a ceiling fixture won't.
Here's what you're looking for:
- Ridges or trowel lines. These are thin raised lines left at the edge of a coat. They cast a sharp shadow.
- Crowned seams. A seam that bulges out like a long, low hump means the mud was built up too high and not feathered wide enough.
- Visible edges. You can see where the patch stops and the flat board starts.
- Pinholes or tiny bubbles. Air trapped in the mud leaves small pits that show up as dots under paint.
- Fuzzy or scuffed paper. Too much sanding raises the paper surface, and it'll look rough once it's painted.
- Dips over screws. A small hollow means the spot needs another coat.
- Hairline cracks or loose tape edges. These should never be there on new work.
Judge the wall by the finish level in your itemized written scope, not by an idea of perfect. A garage wall finished with tape and a couple of coats won't pass a flashlight test the way a Level 5 living room wall should. And that's fine. It's what you agreed to. What matters is that each area matches what's written down.
If you find something, mark it with a small piece of painter's tape. Don't use a pen or marker, because ink can bleed through paint later. Bring it up during the walkthrough, or contact Josh directly if you spot it partway through the job. A low spot costs a few minutes to fix while the mud and tools are still in the room. The same spot costs a lot more once the walls are painted and the furniture's back.
One more tip: check again after the primer coat. Primer evens out the surface color, and sometimes a flaw that hid in the bare mud shows up once the wall is all one shade. Better to catch it there than after the final coat.
📞 Call 587-417-5252 Get a Free Written Quote
When a Small Repair Doesn't Need a Professional
Not every mark on a wall needs us. If the damage is small, it hasn't come back, and nothing behind it is wet or moving, you can likely handle it yourself with a putty knife, a small tub of patching compound, and a fine sanding sponge. Paying a drywall finisher to fill three nail holes doesn't make sense, and we'd rather tell you that up front.
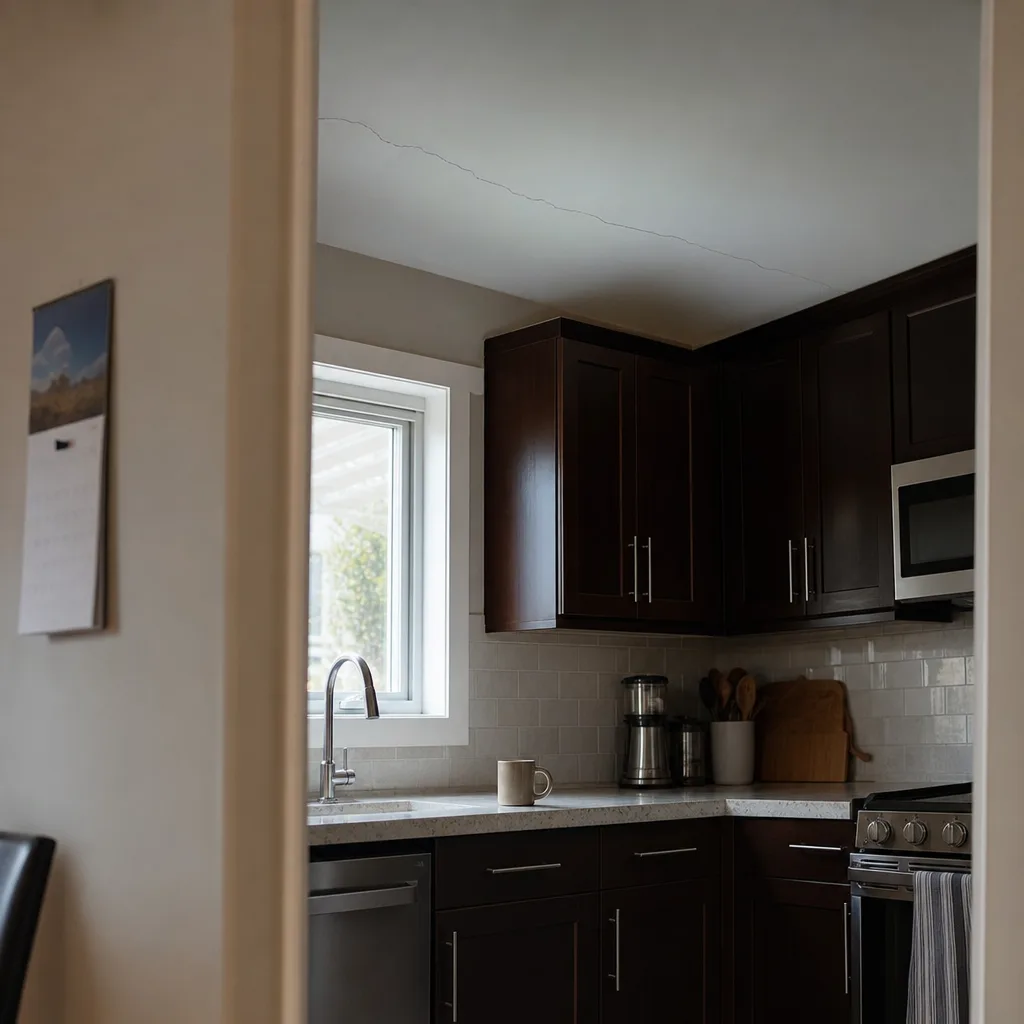
Here's what's usually fine to do on your own:
- Nail and screw holes from pictures, shelves, or a TV mount you took down. Fill, let it dry, sand lightly, and touch up the paint.
- Small dents and dings, like a door handle mark or a chair that bumped the wall. These are surface damage, not a seam problem.
- One nail pop that showed up once and stayed put. Press the board tight, set a new screw just beside it, and cover both spots with a thin coat.
- A short hairline crack in a closet, garage, or utility room where looks don't matter much.
- A fist-sized hole. Patch kits with a backing piece work well at this size if you take your time and keep the coats thin.
The trick with any of these is patience. Thin coats, full drying time, and light sanding. Most DIY patches that look rough are rough because someone piled on one thick coat and sanded hard to flatten it. That's how you end up with a bump or fuzzy paper.
Sometimes the right move is to wait. If a crack just appeared and the house is going through a big seasonal change, it can make sense to watch it for a while before you touch it. Put a small pencil mark at each end of the crack and date it. If it grows, or it opens in winter and closes in summer, you've learned it's movement, and patching it now means patching it again later.
A small repair stops being small when any of these show up:
- The same crack or nail pop keeps coming back after you've fixed it.
- There's a stain, a soft spot, a musty smell, or bubbled tape that hints at moisture.
- The crack runs along a ceiling seam or across a long run of wall, not just one short spot.
- The wall is the one between your attached garage and your house. That's part of a fire-rated assembly, and patching it the wrong way can weaken what it's built to do.
- The damage is in a textured ceiling from before 1990. Don't scrape or sand it. Pre-1990 ceiling textures need lab testing first, and if the result is positive, a licensed abatement contractor handles removal.
- You're painting with a flat or glossy finish on a wall that gets strong side light, and the patch is big enough to show.
If none of those apply, go ahead and fix it. A few nail holes and a dent behind the bedroom door are a good Saturday morning job. If you try it and it keeps showing through the paint, or the crack is back by the next cold snap, that tells you something bigger is going on behind the wall.