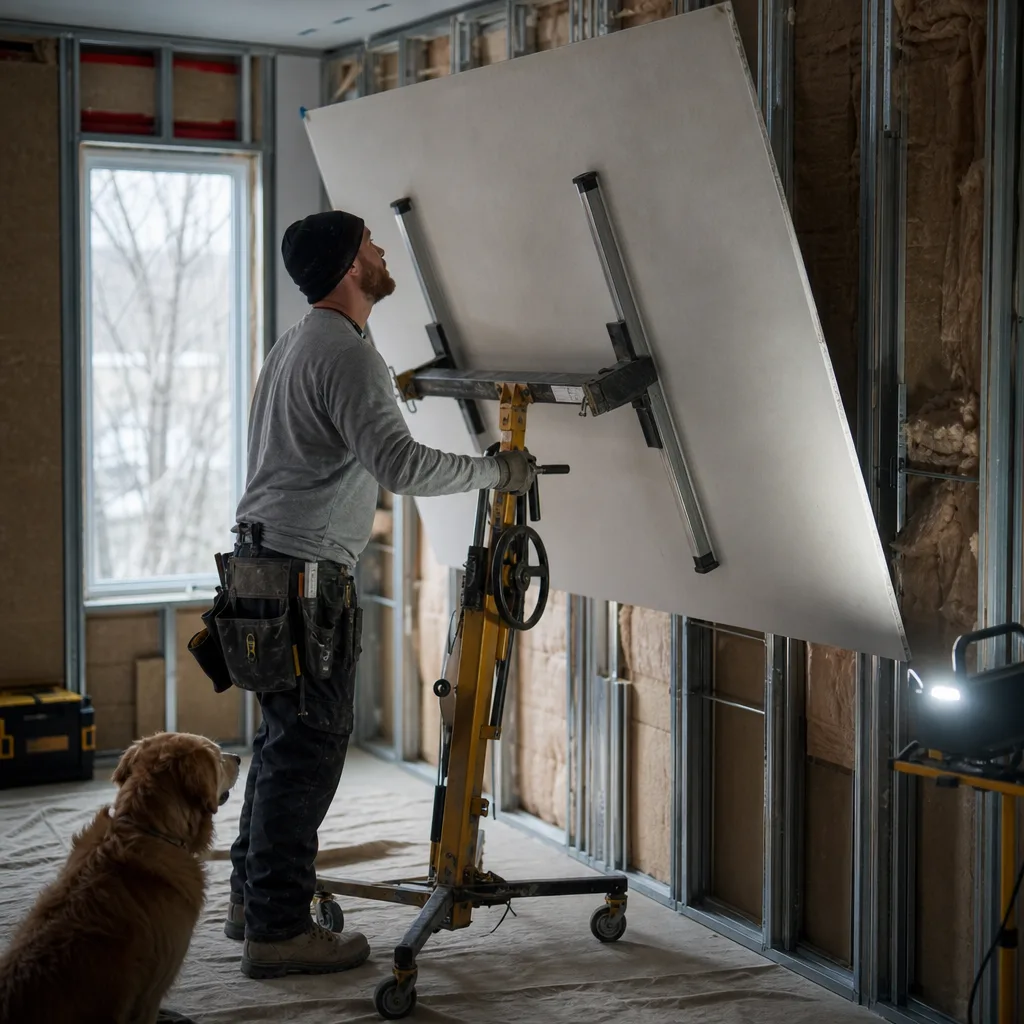
Decide Between Drywall Installation and Drywall Repair
Repair fits when the damage is small and the board behind it is dry and solid. New drywall fits when the board is wet, soft, or sagging, or when the walls are open for a basement or remodel. If you can't tell which one you've got, the cause of the damage usually decides it.
A cracked wall doesn't always need new board. Fresh mud won't fix a wall that's still wet behind the paint. The right call depends on what's under the surface and why it got damaged in the first place.
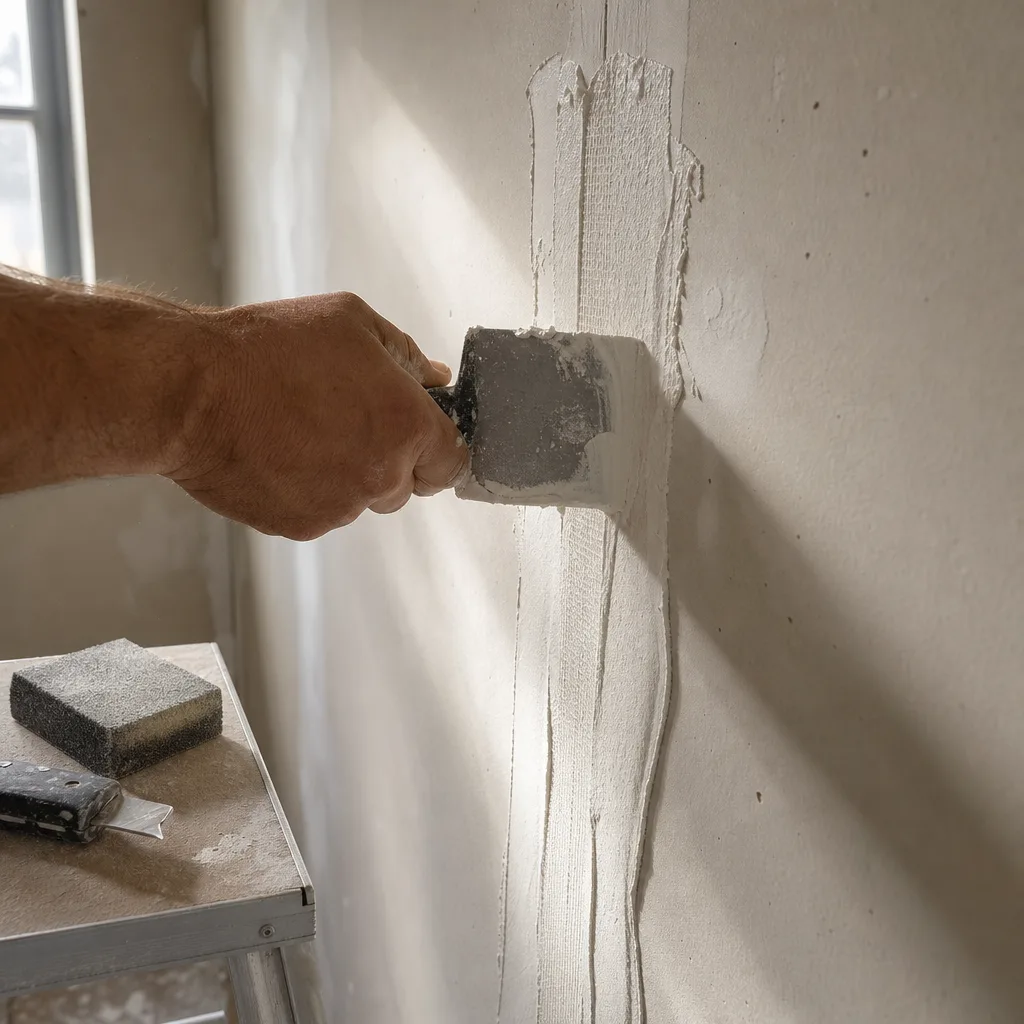
A repair is usually enough when you have:
- A few nail pops or hairline cracks, like the ones that can show up after a new home's first Calgary winter as the framing settles.
- Holes from a doorknob, a moving dolly, or old wall anchors.
- A short stretch of tape lifting at a seam.
- Dents or gouges where the board around them still feels firm.
Those jobs fall under drywall repair, which has its own page. The existing board stays, the damaged spot gets fixed, and the finish is blended so it doesn't stand out.
New drywall installation makes more sense when you have:
- Board that got wet from a leak or flood and now feels soft, crumbly, or stained. Soaked gypsum can lose its strength, and a patch on top won't bring it back.
- A ceiling that's sagging between the joists.
- An unfinished basement with bare studs, or a remodel where walls are being opened up or moved.
- A spot that's been patched over and over and keeps failing in the same place.
Then there's the middle ground. Say you've got a big hole next to a water stain. It's tempting to patch it and move on. But if the board behind it is still damp, the patch just hides the problem until it shows up again, sometimes bigger. That's why we check for moisture before any board goes up. If the reading's dry and the damage stays in one area, a repair can be the honest answer. If it's still wet, the source has to be fixed and the board dried out or replaced before anything new goes on.
Cost works the same way. A repair is usually a smaller job than new board, so it's the cheaper choice when it'll hold. When it won't, paying for the same patch two or three times can end up costing more than replacing that section once. A good contractor will tell you which situation you're in, even when the answer is the smaller job.
You don't have to figure this out alone. We come out in person, measure the area, check for moisture and damage, and give you a free itemized written quote. That way you can see whether we're recommending a patch or new board and why, line by line, before you agree to anything. Calgary Drywall Doctor has worked on Calgary homes since 2004 and has finished more than 500 projects. That's a lot of walls where we had to make this exact call.
Why Older NW Calgary Homes Need New Drywall Now
Many homes in NW Calgary have been standing for decades, and that age shows up in the drywall. The original board has been through years of settling, bone-dry furnace winters, and fast chinook temperature swings. Each swing makes the wood framing shrink and swell a little, which stresses the seams and screws. After enough years, the tape lets go, the corners crack, and the same spots open up again every winter.
A patch will hold for a while. When cracks keep coming back all over a room, though, the old board and tape have done all they can. New drywall gives the room a clean start: fresh board, fresh tape, and a finish that gets checked under raking light before anyone calls it done.
- Seam or corner cracks that reopen in the same rooms every winter.
- Stains or soft spots left from an old roof, window, or plumbing leak that got fixed while the board stayed in place.
- Old paneling or a quick basement finish you'd like to turn into real living space.
- Layers of past patches that show through the paint, especially when sunlight comes across the wall from a window.
- A ceiling that dips or sags between the joists.
The "now" doesn't mean you need to panic. It means doing the work at the point where it costs the least and makes the least mess. If your walls are already being opened for new wiring, plumbing, insulation, or a layout change, that's the time to put up new board. Hanging new sheets once beats patching a dozen holes cut by other trades and then trying to blend them into an old finish. A basement works the same way. The board goes up before flooring, trim, and paint go in, not after.
Older ceilings need one extra step first. A textured or popcorn ceiling from before 1990 has to be lab tested before anyone sands, scrapes, or tears it out. If the test comes back positive, a licensed abatement contractor handles the removal. We don't remove asbestos. New board goes up only after the ceiling is cleared. Popcorn ceiling removal has its own page if that's where your project starts.
Attached garages can be another issue in older homes. The wall and ceiling between the garage and the house may need a fire-rated assembly, and an older home may not have one, or may have one that's been cut into over the years. Our crew is trained in fire-rated assemblies, so that part gets built properly instead of just covered up.
Most people stay in their homes while the work happens, so dust is a fair concern. Our boarding and taping crew is trained in dust control and works in occupied homes every day. That matters in an older house where you're cooking, sleeping, and working a room or two away.
Waiting rarely helps old board. A crack that opens every winter tends to get longer. A stain over board that once got wet can hide damage you can't see from the room. Replacing that section on your schedule beats replacing it after it fails on its own.
Not sure what your project needs?
We look at the job in person and put the scope and price in writing. No obligation.
What Happens Before Any Board Goes Up
Most drywall problems start before the first sheet goes up. Board shows every flaw behind it. If a stud is bowed, a wire isn't secured, or the space behind the wall is still damp, the finished wall will show it, sometimes right away and sometimes after the next cold snap. The work before hanging is what makes the finish last.
It starts with the quote visit. We come out in person, measure the job, and check for moisture and damage. You then get an itemized written scope, so you know exactly what's included before you agree to anything.
A good drywall scope, from any contractor, should make these things clear:
- Which walls and ceilings get new board, and which ones stay
- The type of board for each area, including any fire-rated spots like a garage wall
- The finish level, so you know whether you're getting a standard finish or a smoother Level 5 finish for walls that catch strong side light
- Whether texture, such as a knockdown ceiling, is part of the job
- How dust is handled and how the site is cleaned up
- What has to be finished by other trades before the crew starts
That last point matters most in basements and remodels. Electrical, plumbing, heating ducts, insulation, and vapor barrier all need to be done, and inspected where that's required, before the walls get closed in. Once the board is up, fixing a missed outlet box or a leaky fitting means cutting into new work. If you're coordinating other trades yourself, check that they're done and signed off before drywall day.
The framing needs a look too. Studs and joists should be straight and solid so the board sits flat. A badly bowed stud or a joist that's out of line will show up as a wave across the ceiling once the light hits it. It's much easier to fix that with the walls open than to try to hide it with extra mud later.
This is also where cost gets decided. Drywall installation isn't priced as one flat number. The main things that move the price up or down are:
- Total area of walls and ceilings
- Ceiling height, since tall or vaulted ceilings take more time and staging
- How many corners, openings, and angles the room has
- Fire-rated or moisture-resistant board where it's needed
- The finish level and any texture
- Access, such as getting full sheets down a narrow basement stairway
Before you hire anyone, ask them what their price includes. Does it cover hanging only, or taping, finishing, and sanding too? Who cleans up? What happens if they find water damage once the walls are open? An itemized written quote answers these questions on paper, so nothing comes as a surprise halfway through.
There's not much you need to do to get ready. Clear the rooms as best you can, move valuables and anything fragile away from shared walls, and figure out where the board can be dropped off and stored. If something like a slow leak or a past flood is on your mind, mention it at the quote visit so it gets checked before any new board goes up.
📞 Call 587-417-5252 Get a Free Written Quote
How the Installation and Finishing Work Gets Done
Once the prep is done, the work follows a set order. Each step depends on the one before it, so if any step gets rushed, the finished wall shows it.
- Hanging. Ceilings usually go up first, then walls, so the wall sheets help support the ceiling edges. Sheets are laid out to keep seams to a minimum and away from the corners of doors and windows, because those are spots where cracks like to start. Screws sit just below the surface without tearing the paper face.
- Taping. Tape goes over every seam, and corner bead goes on outside corners so they stay straight and hold up to bumps.
- Mudding. Joint compound goes on in thin coats. Each coat is a little wider than the last, so the seam fades into the flat wall instead of leaving a ridge.
- Sanding. Light sanding between coats and after the last one takes off ridges and tool marks.
- Texture or smooth finish. A ceiling might get a knockdown texture if that's in your scope. Walls are usually left smooth and ready for primer.
The step people don't expect is the waiting. Joint compound dries as its water evaporates, and how fast that happens depends on the heat, humidity, and airflow in the room. If a coat gets sanded or covered before it's dry, it can shrink and crack later. That's why a drywall job runs over several days, even when the board itself goes up in one.
On larger basement and full-renovation projects, a boarding and taping crew works alongside our lead finisher, who leads the finishing work. The crew is trained in dust control, fire-rated assemblies, and Level 5 finishing, and they work in people's homes every day. If something comes up partway through, you can reach us directly. You don't have to go through a front desk.
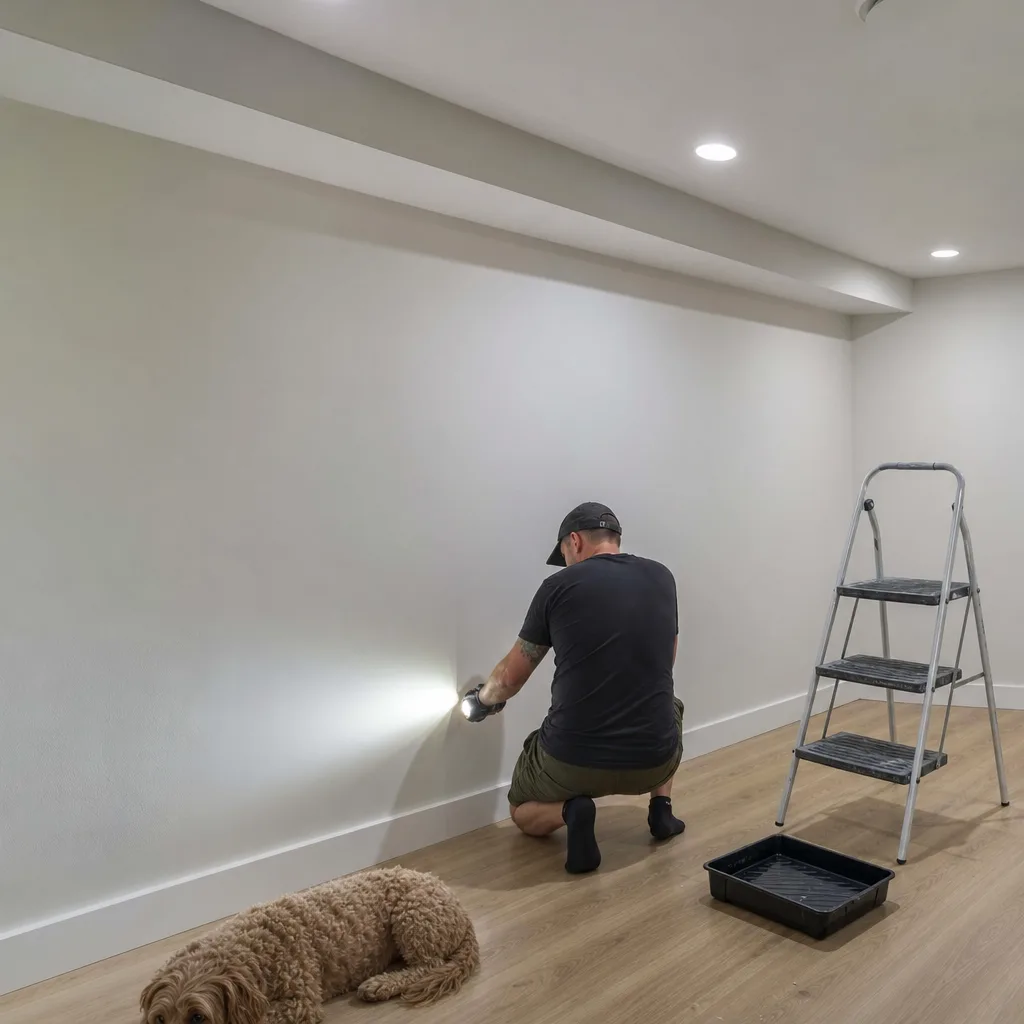
Before anyone calls the job done, we do a final inspection under raking light. That means holding a light low against the wall so it shines across the surface instead of straight at it. Small flaws that are invisible head-on suddenly cast shadows: a seam that sits a little high, a screw dimple, sanding scratches, or a slight wave in the mud.
Raking light shows you what the wall will look like in real life. Think of afternoon sun coming through a west window, or a hallway light at the end of a long wall. Those are the moments when a rushed finish shows. That kind of light is also why some walls get a Level 5 finish, as covered in the scope section. Catching a flaw now takes a bit of mud and a sanding pad. Catching it after two coats of paint means repainting the wall.
When we're finished, the walls and ceilings are smooth, checked, and ready for primer and paint from your painter. Nothing should be hiding under the paint that will show up once the light hits it.
Want a firm number on your residential drywall installation job?
Get a free, itemized written quote before any work starts.
Why Calgary Winters Cause Cracks and Nail Pops Later
Drywall itself barely moves. The wood behind it does. Studs, joists, and roof trusses are lumber, and lumber gives up moisture when the air around it dries out. As it dries, it shrinks a little. When a furnace runs for months against a Calgary winter, the air inside gets very dry, and the framing keeps shrinking until it settles at its new size.
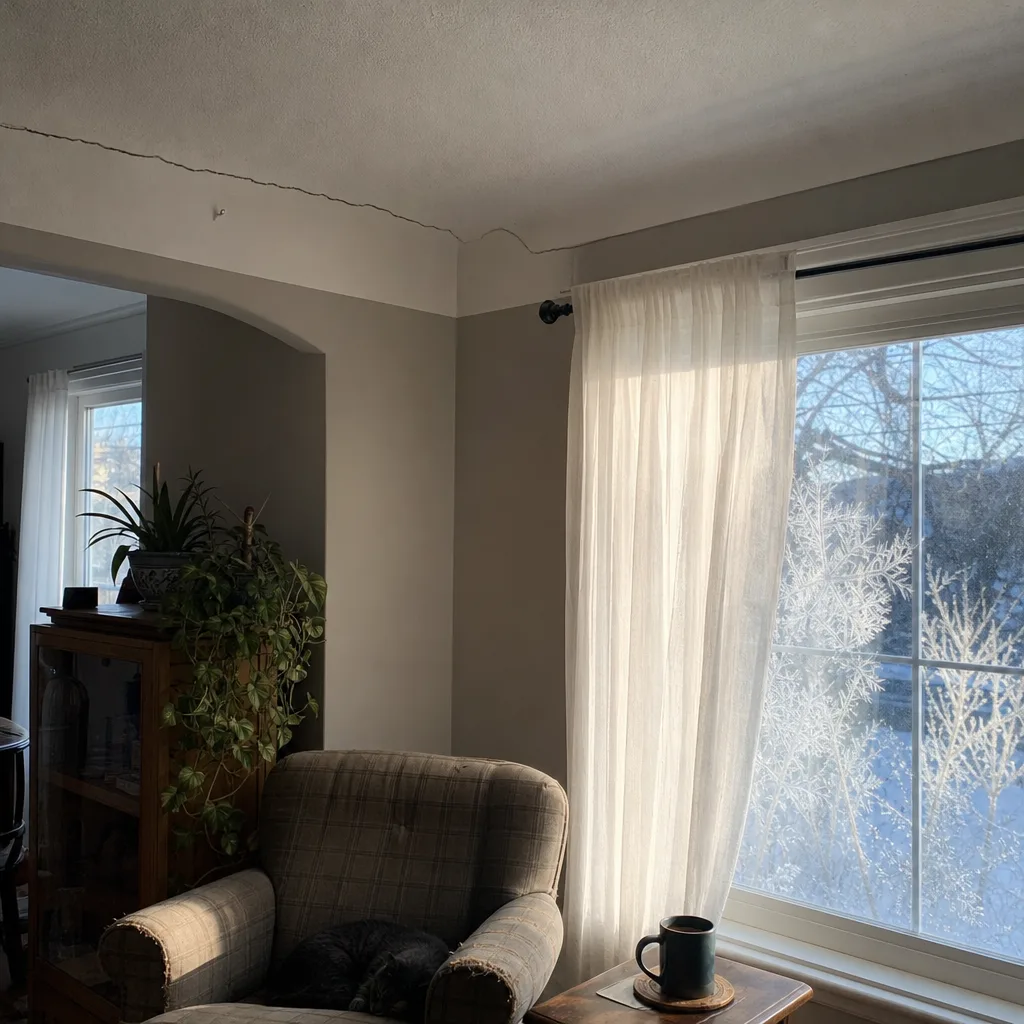
That's why the damage shows up later and not on the day the job is done. The wall looks perfect at the walkthrough. Then the first heating season pulls moisture out of the wood, and the board gets pushed and pulled from behind.
Here's what that usually looks like from inside the room:
- Nail pops. Round bumps or small circles of cracked paint where a fastener sits. The stud shrank away from the board, and the head of the nail or screw now pokes forward.
- Cracks above doors and windows. These corners are weak spots, so a framing shift often shows up there first as a thin line running up at an angle.
- A crack where the ceiling meets an upstairs wall. In some homes the roof trusses lift a little in winter and settle back in summer. The crack opens when it's cold and nearly closes when it's warm.
- Seams that show as a faint line. The tape held, but the mud over it moved just enough to show.
Most of these are cosmetic. They don't mean the house is failing. They do mean the finish didn't allow for movement, or the framing wasn't ready when the board went on.
Some of that movement can't be stopped, but a lot of it can be planned for. The framing should be dry before it's covered, which is one reason we check for moisture before boarding. Sheets should be laid out so seams don't line up with the corners of doors and windows. Fasteners need to be set at the right depth and spacing, with no extras driven where they aren't needed. At the ceiling edge in rooms under trusses, the board can be attached so it's able to slide a little instead of cracking when the trusses lift.
An honest note if your home is new: wait. If it's still in its first year, the framing is likely still drying. Fixing every pop in November can mean fixing new ones in March. It usually makes sense to let the house go through one full heating season, then repair everything in one visit once the wood has settled. Pops and hairline cracks in that first year are drywall repair work, not a reason to replace board.
If you're putting up new drywall in a basement, a remodel, or an older room where cracks keep coming back, the goal is a wall that still looks right after the next cold snap. Seeing the moisture readings, the layout, and the finish plan in writing before work starts is how you know that's being planned for.
📞 Call 587-417-5252 Get a Free Written Quote
Residential Drywall Installation is part of our drywall installation work in Calgary. See all drywall services.