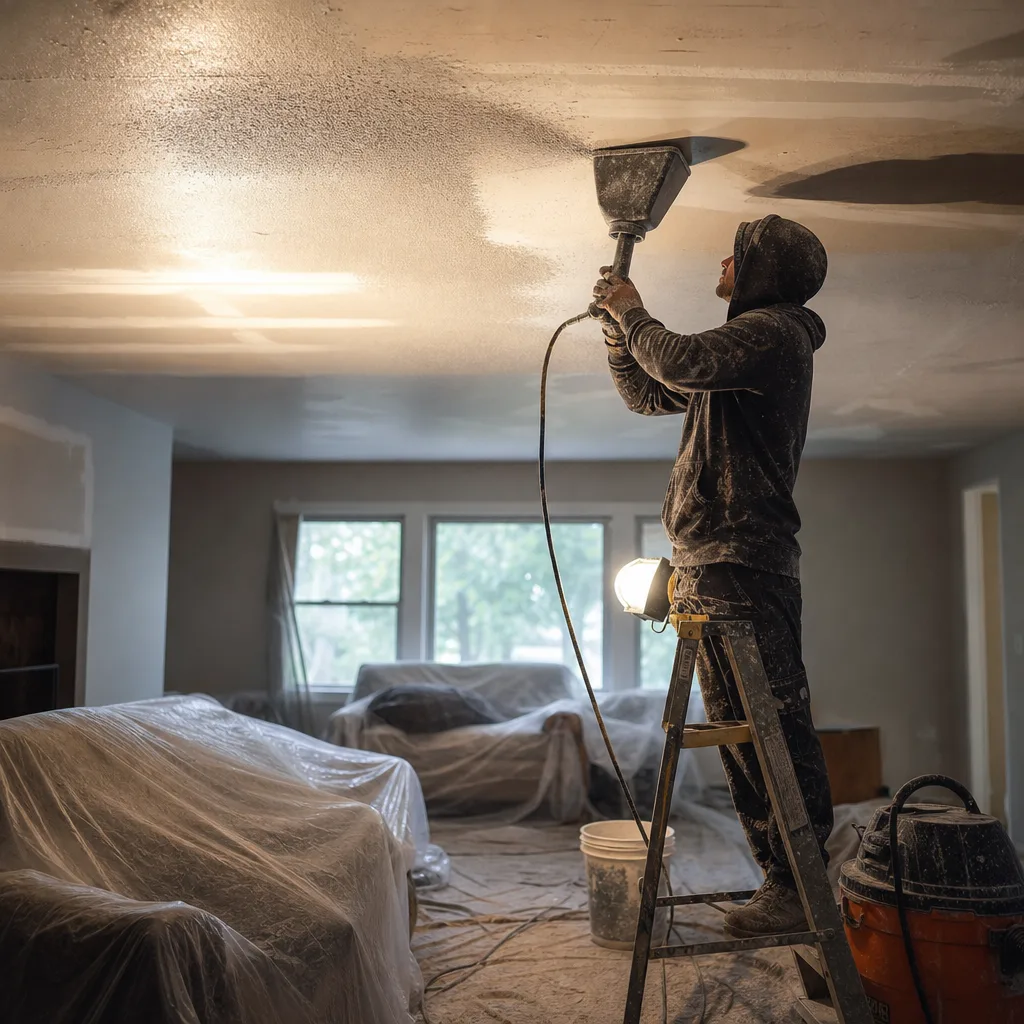
Decide Whether Your Ceiling Needs Repair, Removal, or a Fresh Texture Coat
Repair fits when the damage is small and the rest of the texture is firm. Removal fits when the texture is loose, sagging, or covered in mismatched patches, or when you want a smooth ceiling. A fresh ceiling texturing coat fits a sound ceiling that just looks dated or uneven.
Most ceilings fall into one of three jobs. The right one depends on how solid the texture is, how much of it is damaged, and what you want the room to look like when it's done. Here's how to tell them apart.
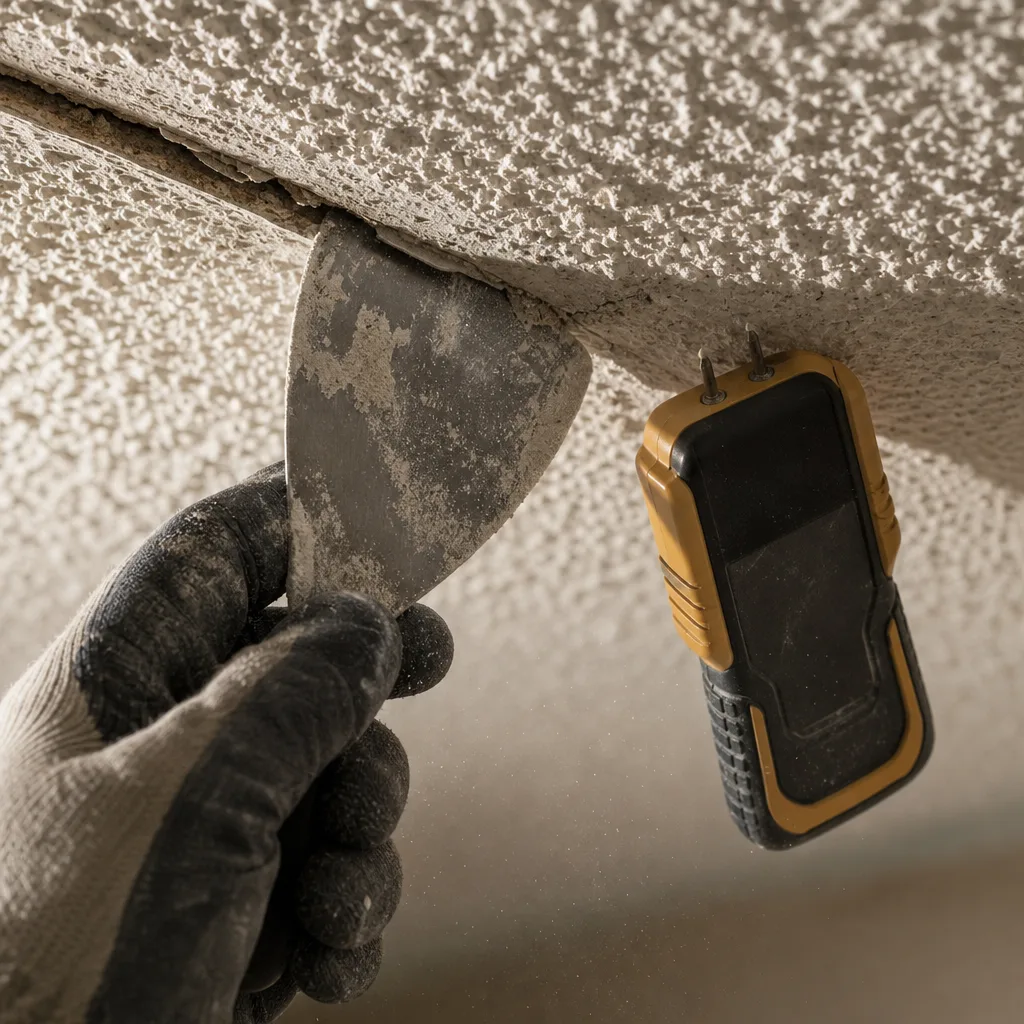
Repair makes sense when the problem is in one spot. Think of a crack along a seam, a few nail pops, a hole from an old light fixture, or a stain from a leak that's already been fixed. If the texture around it is tight to the board, we can patch the damage and blend new texture in so it matches. You don't need to redo a whole room for one bad spot.
Removal makes sense when the texture itself is failing. Look for these signs:
- Texture flaking, peeling, or falling onto the floor
- Spots where the ceiling sags or the texture has let go of the board
- Several old patches that never matched and now look like a quilt
- You want a smooth, modern ceiling instead of popcorn
If your home was built or textured before 1990, don't scrape, sand, or poke at the ceiling yet. Pre-1990 ceiling textures need a lab test first. If the result comes back positive, a licensed abatement contractor handles the removal. Once the test is clear, we can take care of popcorn ceiling removal and get the ceiling ready for a smooth finish or new texture.
A fresh texture coat makes sense when the ceiling is solid but tired. Maybe a renovation left one room smooth and the next one textured, or a newer patch shows a different pattern under the lights. As long as the surface underneath is sound, we can apply a new texture, like a knockdown finish, over the whole ceiling so it reads as one even surface again.
Sometimes you don't need any of these. A thin hairline crack that hasn't grown in a year may just be normal settling, and you can watch it. A dry, firm water stain from an old leak may only need a stain-blocking primer and paint, not new texture. If a stain is still damp or keeps spreading, texture work should wait. Find and fix the water source first, or the new finish will fail in the same spot.
That last point is why we check for moisture and damage when we measure your job in person. A ceiling that looks like it needs a texture coat can turn out to need a repair first. A small patch can show that a bigger section has let go. Your free written quote lists each step so you can see what the ceiling needs and why, and nothing else gets added.
If you're stuck between two options, start with the condition of the texture, not the look. Firm texture with one bad spot calls for a repair. Loose texture calls for removal. Firm texture you don't like calls for a new coat.
Check Older Ceilings Before Any Texture Work Begins
Before we talk about texture patterns or finishes, there's one question to answer first. How old is the texture on your ceiling? If it went up before 1990, it needs a lab test before anyone touches it. That's true even for a small patch.
Some ceiling textures from before 1990 contained asbestos. You can't tell by looking. Popcorn, stipple, and swirl textures from that time can look the same as newer ones. A lab test is the only way to know.
People often think a test only matters for full removal. It matters for smaller jobs too. Every kind of texture work disturbs the surface in some way:
- Repairing a crack or nail pop means scraping and sanding around the damaged spot.
- Cutting out water-damaged board breaks up the texture along the cut lines.
- Getting a ceiling ready for a new knockdown coat means scraping off loose texture and sanding high spots.
- Moving or adding a light fixture means cutting into the ceiling.
Any of these can release material from an older texture into your home. That's why the test comes first, no matter how small the job looks.
Don't go only by the year your home was built. Many Calgary houses have had more than one round of renovation, and a ceiling can hold layers from different decades. A house built in 1985 might have had its ceilings re-textured in 1998. The newer coat on top doesn't change what's underneath. Once work starts, the old layer gets disturbed along with the new one. If you know the ceiling was textured before 1990, or you don't know when it was done, plan on a test.
When we come out to measure, tell us what you know. That includes the year your home was built, any renovations or ceiling work you know about, and any rooms that were added later. This helps us write a scope that matches your ceiling, not a guess. Leave the ceiling alone until then. Don't scrape a test spot or sand a stain to see what's under it.
Once you have the result, the path is simple.
- If the test is clear, we go ahead with the plan that fits your ceiling, whether that's a repair, popcorn ceiling removal, or a new texture coat.
- If the test is positive, a licensed abatement contractor handles the removal. Calgary Drywall Doctor doesn't remove asbestos. After the abatement work is done, the ceiling still needs finishing, and that drywall and texture work is what we do.
A positive result doesn't mean you're stuck with an ugly ceiling. It just changes who does the first step. Doing things in this order keeps your family safe during the job. It also means the new finish goes onto a surface everyone understands.
This ties back to the main point of this page. The right ceiling job depends on what the ceiling is made of and how sound it is, not just how it looks. For an older home, the test result is part of that answer, and it comes before anything else.
Not sure what your project needs?
We look at the job in person and put the scope and price in writing. No obligation.
Rule Out Moisture Before Covering a Crack or Nail Pop
A crack or nail pop looks like a quick fix, and sometimes it is. Two cracks can look exactly the same and still need two different jobs, though. If water is behind one of them, a patch and a fresh coat of texture won't last. The mud softens, the texture bubbles or lets go, and the same spot comes back, often bigger. So before anything gets covered, you want to know why it showed up.
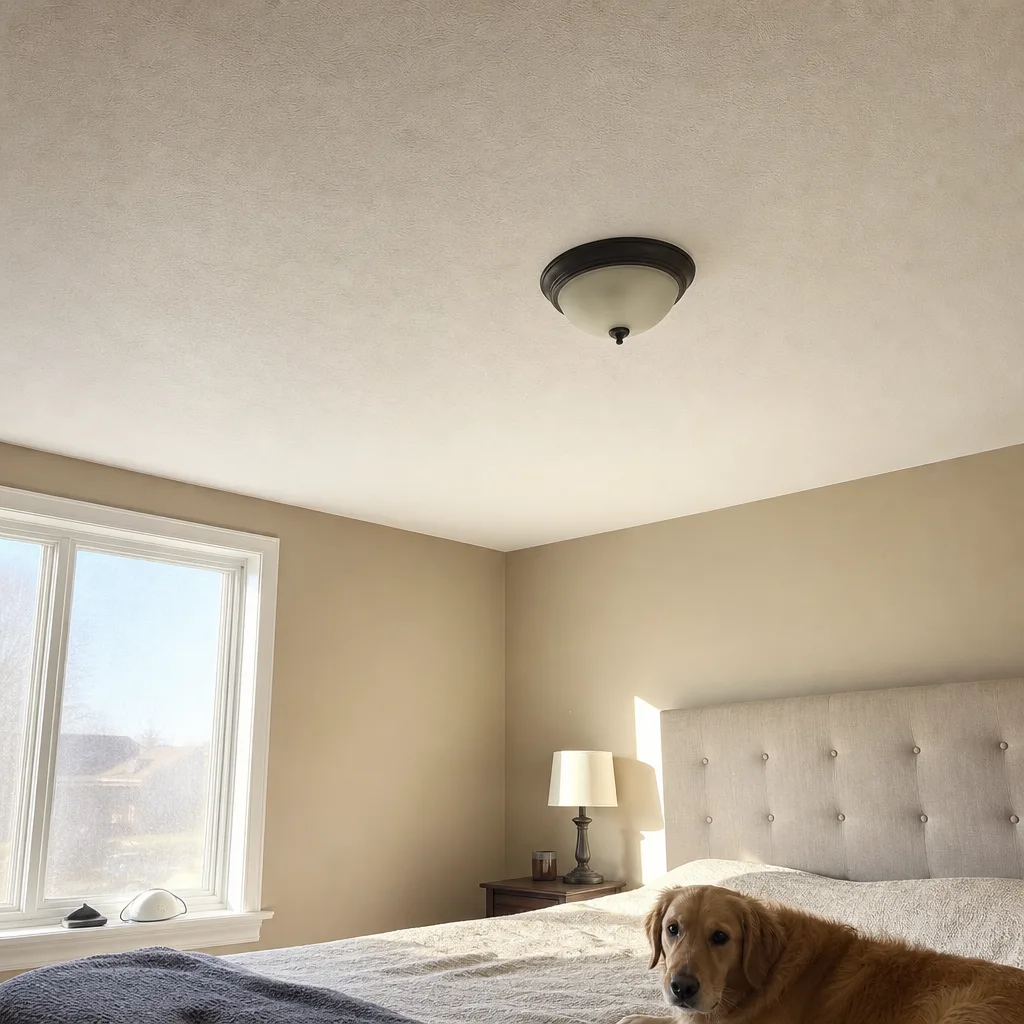
Most cracks and nail pops come from one of two causes. The first is dry, normal movement. New framing lumber dries and shrinks after a house is built, and Calgary's dry winter air speeds that up. As the wood shrinks, screws and nails get pushed through the surface and seams can crack. That's why so many newer homes show nail pops after their first winter. We've been fixing exactly these since 2004. Once the framing has settled, the fasteners can be reset and the spot taped, mudded, and textured to match.
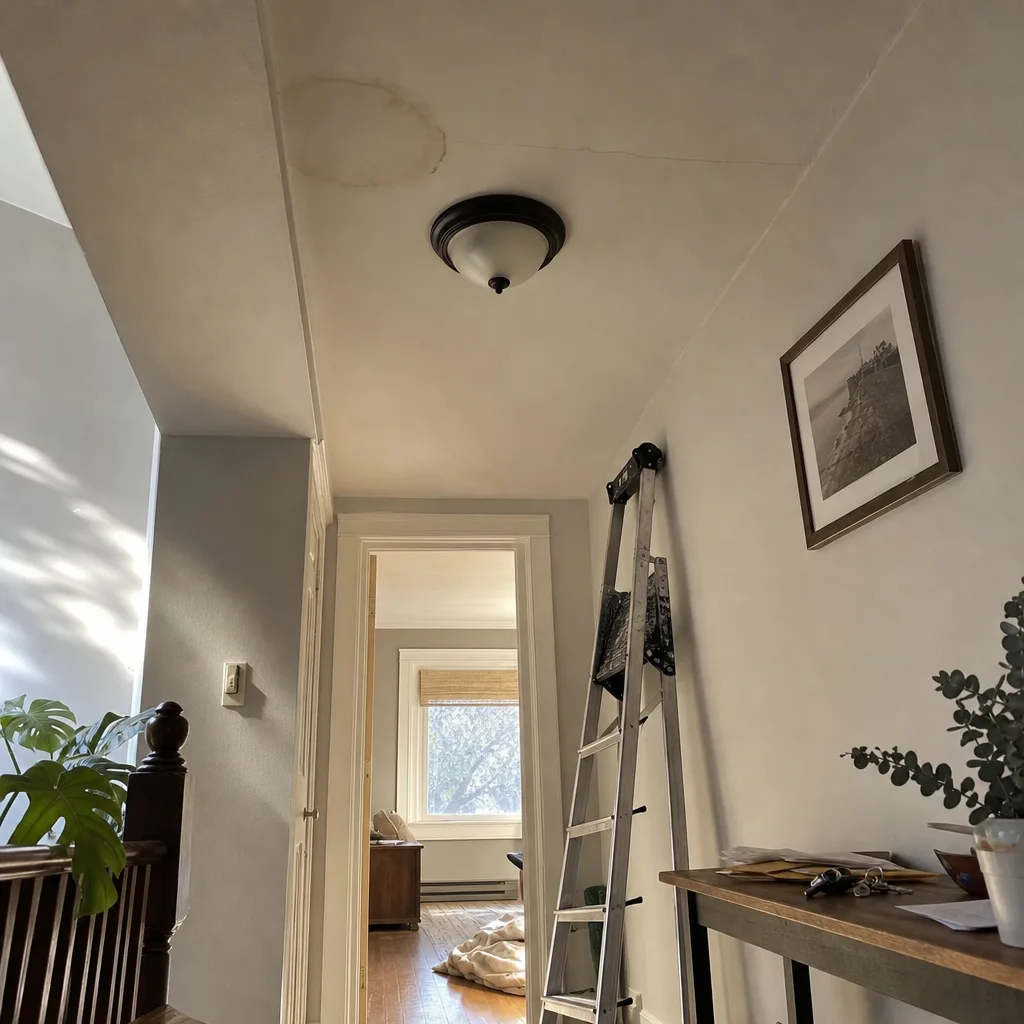
The second cause is water. These signs point that way:
- A yellow or brown ring around the crack or pop
- Texture that looks puffy, bubbled, or sagging around the spot
- Rust showing on a screw head
- Damage under a bathroom, near an outside wall, or below a low spot in the roof
- A musty smell in the room
- A crack or pop that came back after it was already patched and painted
Calgary winters add a twist. A chinook can melt snow on the roof in an afternoon, and a hard freeze can follow that night. Ice can build up at the roof edge and push water back under the shingles. Frost that collects in the attic during a cold snap can melt and drip onto the back of the ceiling drywall. A stain might show up in February and look dry by June. A dry surface doesn't always mean dry board underneath.
If you see any of these signs, get the source fixed first by the right trade, like a roofer or a plumber. Then give the area time to dry out completely. Drywall that got soaked and turned soft or crumbly gets cut out and replaced. It doesn't get patched over. New board, taped and textured to blend with the rest of the ceiling, is the repair that holds.
That's why we check for moisture and damage when we measure your job in person. If we find a wet spot, your written quote says so, and the texture work waits until the cause is handled. Covering it anyway would just set you up to pay for the same repair twice.
After the work is done, we inspect the finished ceiling under raking light. That's a light held low and almost flat to the surface. It throws shadows across ridges, edges, and patches that look fine from the middle of the room with the lights on. A repair on dry, solid board that disappears under that light will stay hidden for good.
Know What Happens During a Ceiling Texturing Job
Once your ceiling has passed the earlier checks, including the moisture check and the lab test for older textures, the job itself follows a clear order. Each step sets up the next one. Skipping or rushing any of them is how you end up with texture that looks patchy or starts letting go a year later.
Here's what a texturing job looks like from start to finish.
- Protecting the room. Texture compound goes on wet and splatters, and any sanding makes fine dust. Floors, walls, and anything left in the room get covered, and the room gets closed off from the rest of the house as much as possible.
- Getting the surface ready. Any repairs come first. That means filling cracks, resetting nail pops, and taping seams. Loose texture gets scraped off and high spots get sanded down. The ceiling then gets a coat of primer so the new texture soaks in evenly. Without it, patched areas and bare board can dry at different rates and show through.
- Applying the texture. For a knockdown finish, compound is sprayed on in spatters. After it sets for a short time, it gets flattened with a wide knife. That timing decides how the pattern looks, so it has to stay consistent across the whole ceiling. When we're blending a patch into existing texture, the goal is to match the size and spacing of the old pattern so the repair doesn't stand out.
- Drying. Compound has to dry all the way through before anything goes on top. Calgary's dry air helps it along. Keep your furnace running at a normal setting, and don't point heaters or fans straight at the ceiling. Drying it too fast can cause cracking.
- Checking the finish. We do a final inspection under raking light before the job is called done. After that, the ceiling is ready for primer and paint.
How long it takes depends on the size of the job. A single bedroom ceiling is a much smaller job than a main floor with an open living area and a hallway. The amount of prep work matters too. A ceiling that needs scraping and several repairs before any texture goes on takes longer than one that's already sound. Your itemized written quote lists each step for your ceiling, so you'll know what's planned before work starts.
You can do a few things before the crew arrives to save time and protect your stuff:
- Move furniture, rugs, and anything breakable out of the room if you can
- Take down curtains, wall art, and light fixture covers
- Find somewhere else for pets and kids to be during the work
- Tell us about any spots where you've noticed new cracks or stains since the quote
Most people stay at home during the job and just keep out of the work area. On larger basement and full renovation projects, a boarding and taping crew trained in dust control works alongside our lead finisher, who handles the finishing work personally. If something comes up during the job, like a question about the pattern or a spot you want looked at, you can contact us directly. You don't have to wait for the final walkthrough.
Want a firm number on your ceiling texturing job?
Get a free, itemized written quote before any work starts.
Understand How Ceiling Texturing Is Priced
Ceiling texturing doesn't have one set price, and a phone quote won't tell you much. The cost comes from the same things that decide which job your ceiling needs: what it's made of, how sound it is, and how much work it takes to get it ready. That's why Calgary Drywall Doctor doesn't publish prices. We measure the ceiling in person and give you a free, itemized written quote.
Most drywall contractors price texture work in one of three ways. Some charge by the square foot of ceiling. Some quote per room. Others give one price for the whole job. Small patch-and-blend repairs often fall under a minimum charge, because setup, protection, and drying time don't shrink much for a small spot. Any of these can be fair. What matters is knowing what's included.
These are the things that usually push the cost up or down:
- Size of the ceiling. A single bedroom costs less than an open main floor with a hallway.
- Height and access. Vaulted ceilings and stairwells need scaffolding or taller ladders, and the work goes slower.
- Prep work. Scraping loose texture, resetting nail pops, taping seams, and priming can take more time than the texture itself.
- Repairs found during the check. Wet or soft board that has to be cut out and replaced adds to the job.
- Matching versus redoing. Blending a patch into an old pattern takes care and skill. Sometimes a full new coat on the ceiling looks better for a similar cost.
- What's in the room. A furnished room needs more covering and moving around than an empty one.
- Older textures. A lab test comes first for pre-1990 ceilings. If it's positive, the abatement work is a separate job priced by a licensed abatement contractor, not by us.
This is where two quotes can look far apart. A low number might leave out primer, skip the repairs, or assume the old texture is solid when it isn't. Then the extra charges show up after work starts, or the new texture lets go later and you pay to fix it again. A higher quote might simply list the prep that the cheaper one skipped.
Before you hire anyone, ask these questions:
- Is the quote in writing, with each step listed?
- Does it include protecting the room and cleaning up?
- Are crack, seam, and nail pop repairs included, or extra?
- Is priming before texture part of the price?
- What happens if hidden water damage turns up?
- Did they check for moisture before quoting?
- Who will be doing the work in your home?
- Are they licensed, insured, and covered by WCB?
Your quote from Calgary Drywall Doctor answers these up front. It lists the prep, repairs, and texture work your ceiling needs, based on what we found on site. If something turns up during the moisture check, the quote says so before any work starts. We're licensed, WCB-covered, and insured, and we've been doing this work around Calgary since 2004.
📞 Call 587-417-5252 Get a Free Written Quote
Ceiling Texturing is part of our ceiling repair work in Calgary. See all drywall services.