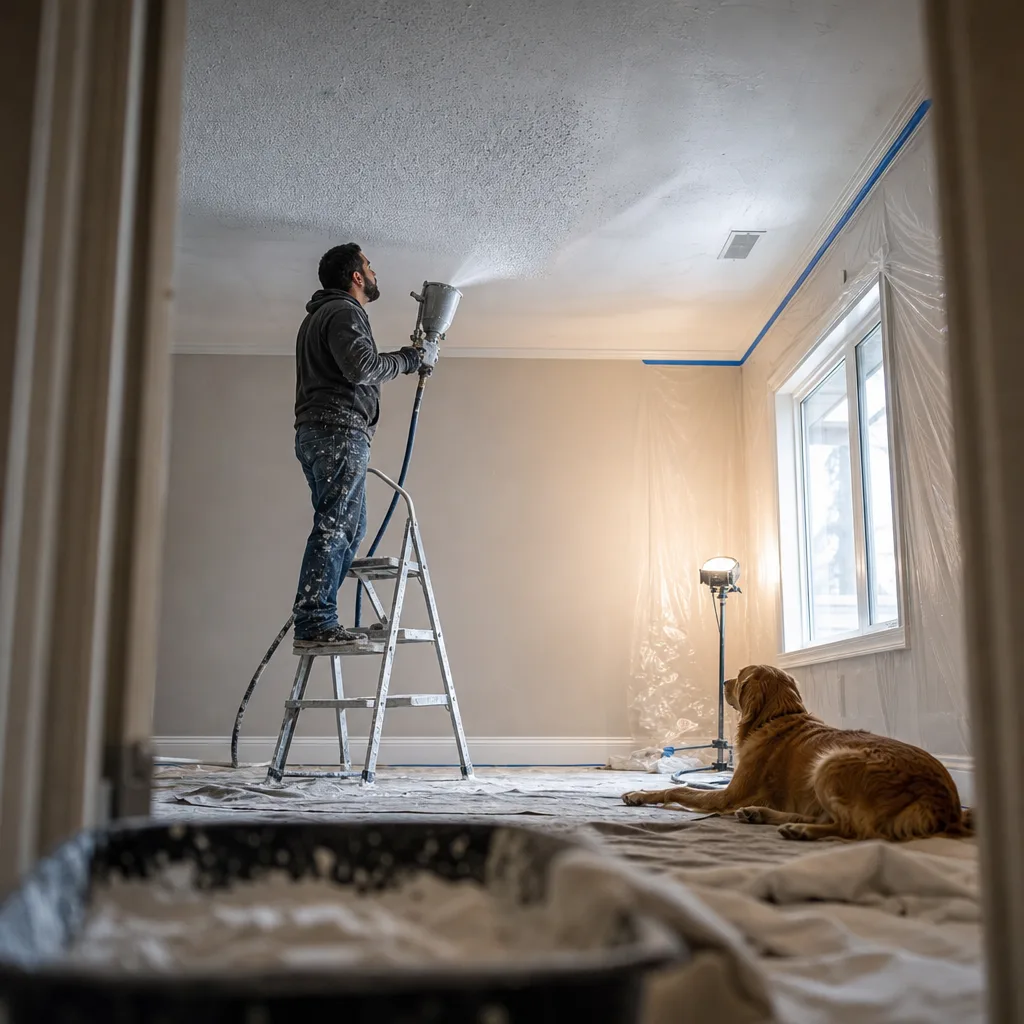
Need Ceiling Texturing?
We look at the job in person and put the scope and price in writing. No obligation.
Decide Whether Your Ceiling Needs Texturing or a Deeper Repair First
New texture only holds up on a ceiling that's dry, solid, and tight to the framing. Stains, sagging, joint cracks, and popped screws need a repair first, or they'll show through again. If your ceiling is sound and you just want a new look, ceiling texturing can go straight ahead.
Texture is a finish. It's not a fix. It can hide a lot for a few weeks, but it can't hold a loose board in place or stop water from coming through. So before you pick a pattern, take a hard look at what's underneath.
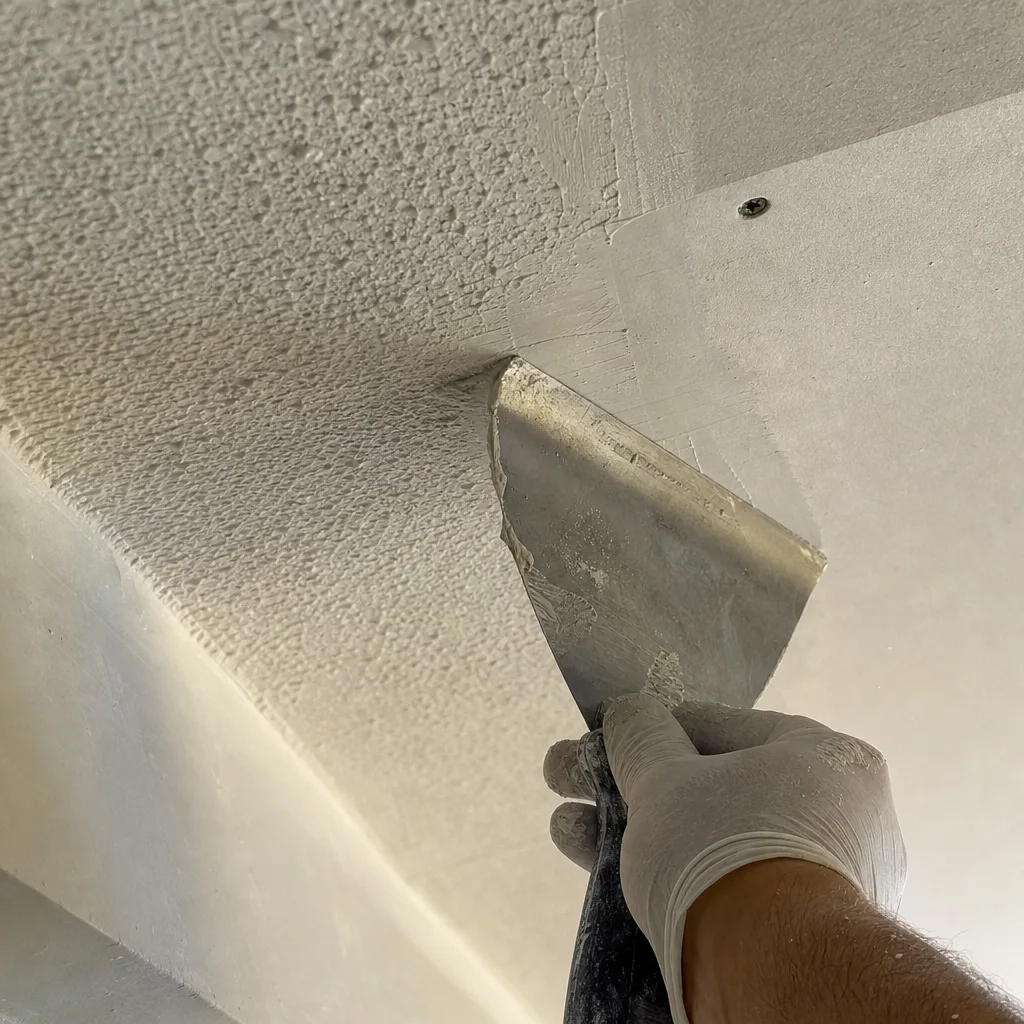
Here's what to look for, and what each sign means:
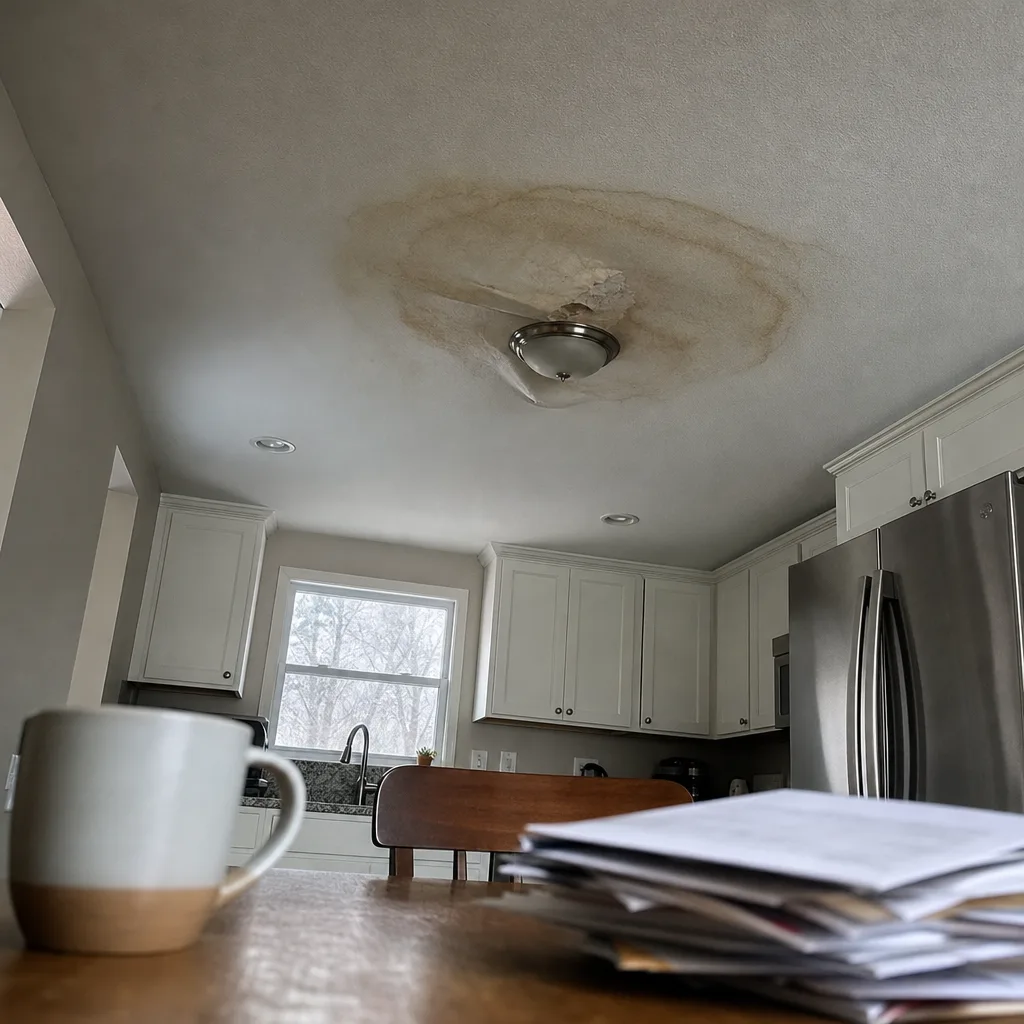
- Brown or yellow stains: Something got wet. The source has to be found and stopped, and the board has to be dry before any mud or texture goes on. Texture over damp drywall can bubble, peel, or grow mold.
- Sagging or soft spots: The board has pulled away from the joists or got soaked and weakened. That section needs to be re-secured or cut out and replaced.
- Cracks along straight lines: These usually follow the taped seams between sheets. The tape has let go. It needs to be cut back and re-taped, or the crack will come right back through new texture.
- Round bumps in a row: Those are nail or screw pops. The fastener gets reset and the spot gets patched before texturing.
- Old popcorn or spray texture from before 1990: This has to be lab tested before anyone scrapes, sands, or sprays over it.
That last point matters. Older ceiling textures can contain asbestos. If your home's ceiling went up before 1990, we send a sample for lab testing first. If the result comes back positive, a licensed abatement contractor handles removal. We don't remove asbestos, and we won't disturb a ceiling until we know what's in it.
Cracks and nail pops are a common story in newer Calgary homes after their first winter. This happens as the framing settles and dries out. Josh started this business in 2004 doing exactly that kind of repair, and the lesson stuck. Fix the cause, not just the look. A crack you texture over without re-taping is a crack you'll see again.
Now the honest part. Not every ceiling needs a big repair, and not every ceiling needs new texture. If your ceiling is dry, flat, and solid, and you're just tired of the old pattern or want to match a renovated room, texturing can go ahead with light prep. And if you've only got one small hairline crack in a smooth ceiling, a patch and touch-up may be all you need. You don't have to retexture the whole room for that.
You don't have to sort this out alone, either. When Josh comes out to quote, he checks the ceiling in person, tests for moisture, and looks for damage you might not spot from the floor. Then you get an itemized written scope that lists any repair work separately from the texturing. You can see exactly what's needed and why before anything starts.
When repairs come first, the texture work follows on a ceiling that's ready for it. After the finish is done, Josh checks it under raking light, a low, angled light that shows ridges, patches, and uneven spots a normal ceiling light hides. That's how you know the repair and the texture came out as one even surface.
Know When Pre-1990 Ceiling Texture Needs Testing First
The rule is simple. If the texture on your ceiling went up before 1990, it gets lab tested before anyone touches it. Knowing whether your ceiling falls under that rule isn't always simple, though. The date that counts is when the texture was applied, not just when the house was built.
Start with the year your home was built. Your purchase papers, a property tax record, or a home inspection report will usually list it. If the house is from 1990 or later and the ceilings are original, testing isn't required. You can move straight to picking a texture.
If the house is older, the answer depends on what's been done since. A lot of Calgary homes have been updated one floor at a time, so one house can have ceilings from very different years. These are the cases that trip people up:
- Older house, newer basement: Say your home was built in 1984 and the basement was finished in 2010. The basement ceiling is newer and doesn't fall under the rule. The main floor ceilings likely do.
- Texture sprayed over texture: If someone added a fresh coat over the old popcorn, the old layer is still up there. New paint or texture on top doesn't change what's underneath.
- Additions and patched rooms: A newer addition or a room that got new drywall may be fine. The original rooms beside it still need testing.
- No records at all: If you can't find out when the ceiling went up, treat it as pre-1990. Guessing isn't worth the risk.
It's not only popcorn. Stipple, swirl, and other sprayed or hand-applied textures from that era fall under the same rule. If it's an older textured ceiling and you're not sure what it is, assume it needs a test.
Here's what the result means for your project. If the test comes back negative, the ceiling can be prepped and textured like any other. If it comes back positive, a licensed abatement contractor handles removal. Calgary Drywall Doctor doesn't do that part. Once the ceiling has been cleared, it's a normal drywall and texture job again.
Testing does add a step, and it can push your start date back a little while you wait for results. That's normal, and it's far better than finding out partway through a job. If you're planning texture work on a schedule, like before a move or before new flooring goes in, ask about testing early so it doesn't hold anything up.
If you already know your ceilings are newer, you can skip all of this. If you're not sure, mention it when you call. Josh will check the age question when he comes out to quote, and testing will be part of the plan from the start.
What Happens During a Ceiling Texturing Visit
Once your ceiling is sound and any testing is cleared, the texture work itself is pretty straightforward. The prep is what makes texture look good. The spray or trowel part goes fast compared to everything that comes before and after it.
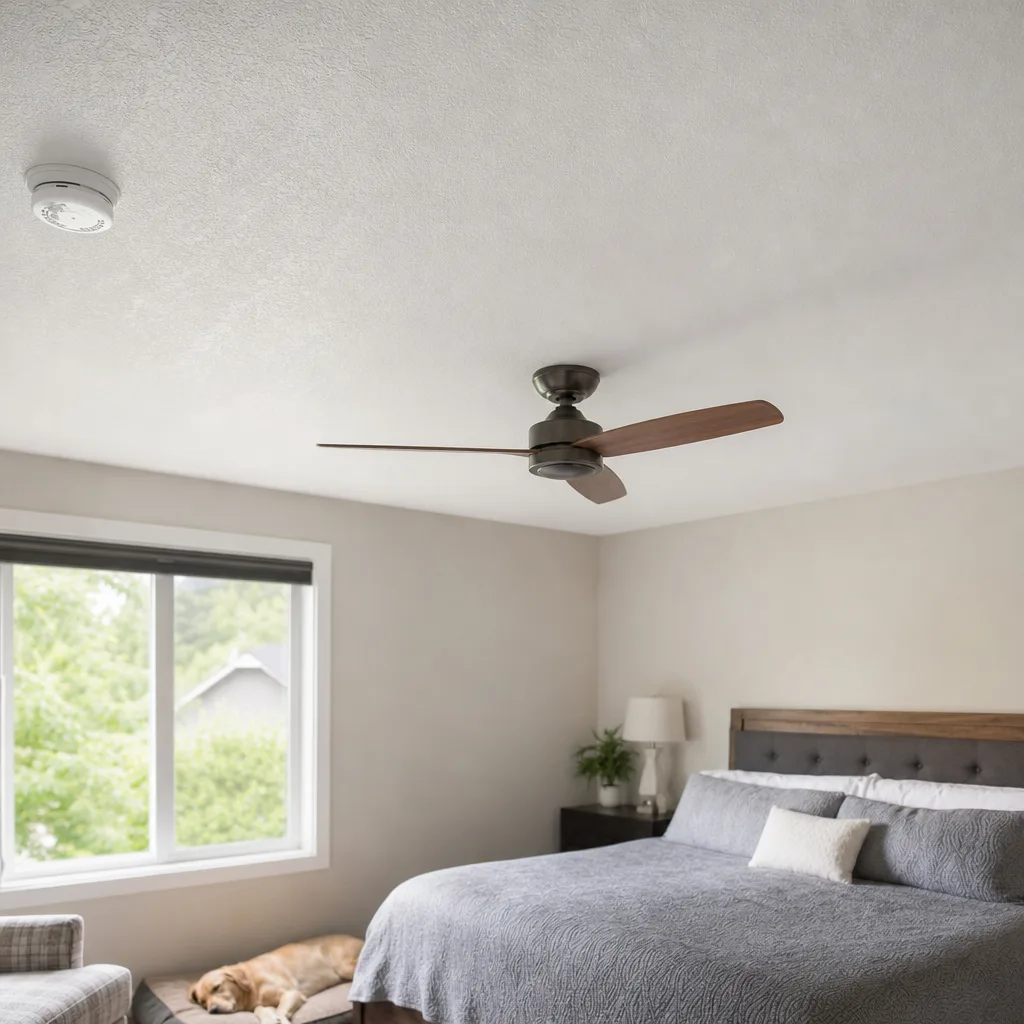
Here's the usual order of a ceiling texturing job:
- Clear and cover. Furniture comes out of the room or goes to the middle, and floors, walls, and fixtures get covered. Texture mud travels, so anything left exposed can get speckled.
- Finish the repairs. Any patches, re-taped seams, or reset screws from your written scope get done first and allowed to dry.
- Prime the ceiling. A coat of primer helps the texture stick evenly and keeps patched spots from soaking up mud differently than the rest of the board.
- Apply the texture. Depending on the pattern you picked, it's sprayed, rolled, or worked by hand with a trowel or brush. For knockdown, the mud is sprayed on, left to set for a bit, then flattened with a wide knife.
- Let it dry. Texture has to dry all the way through before anything goes over it. How long that takes depends on how thick it is and how humid the room is.
- Check the finish. The ceiling gets looked at under raking light before the job is called done.
Josh leads the finishing work himself. On bigger basement and full-renovation projects, a boarding and taping crew works with him. That crew is trained in dust control, which matters when the work is happening inside a home you're still living in.
You can make the day go smoother before anyone shows up. Clear out small things like lamps, pictures, and anything breakable. Take down any light fixture covers you can reach safely. If you have pets, plan to keep them out of the room. Wet texture and curious paws don't mix, and neither do open doors and drop sheets.
Plan on not using the room for a little while. You'll want to stay out while texture is going up, and the room needs time to dry after that. If it's a bedroom, it's worth having somewhere else to sleep that night. If it's a main living area, it helps to do the work when you can close the room off.
Most textured ceilings get primed and painted once they're fully dry. Painting too early can soften the texture or leave blotchy spots. Check your itemized scope so you know exactly which steps are included and where the texture work ends.
If something comes up mid-job, like a question about the pattern or a spot you want looked at again, you don't have to go through an office. You can contact Josh directly while the job is underway.
The last step is the one that tells you the job was done right. Josh goes over the ceiling under raking light, the same angled-light check described above, looking for ridges, thin patches, or spots where the pattern changes. A ceiling can look fine at noon and show every flaw once the evening light hits it from the side. Checking it that way before calling it finished is how you end up with one even ceiling and not a patchwork.
Need help with Ceiling Texturing?
Calgary Drywall Doctor is ready to help.
Matching New Texture to an Existing Ceiling
Matching texture is harder than putting up a fresh ceiling. A new patch has to copy the pattern, the size of the bumps, the height of the texture, and the paint on top. Get one of those wrong and you'll see the patch every time the light hits it from the side.
Here's why a match can drift, even when the pattern is right:
- Mud thickness: Thinner mud spreads flatter. Thicker mud stands up higher. A small change makes knockdown or orange peel look different.
- Tool and pressure: Spray tip size, air pressure, and how hard the knife is pulled all change the shape of the pattern.
- Hand style: Swirl and stipple ceilings were done by hand. Every finisher's hand is a little different, so the patch has to copy the old rhythm, not just the pattern name.
- Old paint: Ceiling paint fades and yellows over the years. Fresh paint on a patch won't match paint that's been up for a decade or more.
So the real question is how big the fix should be. For a small repair in a busy pattern like knockdown, a careful patch can blend well, especially once the whole ceiling gets a fresh coat of paint. For a big repair, or a ceiling with a fine, even pattern, it often looks better to retexture the whole ceiling, or at least run the new texture to a natural break like a wall, a beam, or a bulkhead. Your eye stops at a corner. It doesn't stop in the middle of a flat ceiling.
Here's the honest part. A perfect match on an old ceiling isn't always possible. If someone tells you the patch will be invisible no matter what, ask how they'll handle the paint and where the new texture will stop. A good match is close enough that you stop noticing it from where you normally stand. Plan on painting the whole ceiling, not just the patch, so the colour and sheen line up.
You can help the match before anyone arrives. Take a clear photo of the old texture with a light shining across it. If you've got leftover paint from the last time the ceiling was painted, keep the can. If you know what the pattern is called, great. If not, that's fine. It can be checked on site.
One thing doesn't change. If the ceiling you're matching into is older popcorn or spray texture from before 1990, the testing rule above still applies before any patch or blend work starts.
When Josh comes out to quote, he'll look at your existing texture and tell you straight whether a patch will blend or whether a bigger area makes more sense. Your itemized written quote will show which one is planned, so you're not guessing. The finished match gets the same raking-light check as any other ceiling job. Calgary Drywall Doctor has been doing this kind of work in Calgary since 2004, across more than 500 projects, and it's licensed, WCB-covered, and insured.
📞 Call 587-417-5252 Get a Free Written Quote
How Ceiling Texturing Pricing Works
There's no flat price for ceiling texturing, and you should be careful with anyone who gives you one over the phone. Two ceilings the same size can take very different amounts of work. One might need a quick prime and spray. The other might need seams re-taped, screws reset, and a hand pattern matched to a 20-year-old ceiling. That's why Calgary Drywall Doctor doesn't publish prices. Josh measures the job in person and gives you a free itemized written quote.
Across this trade, texture work is usually priced by ceiling area, by room, or as one job price for the whole scope. Small jobs, like a single patch, often have a minimum charge because setup, covering, and cleanup take about the same time whether the area is big or small. Repair work is usually priced apart from the texture itself.
Here's what tends to push the cost up or down:
- Size and height: More ceiling means more material and time. Vaulted ceilings and stairwells need taller ladders or scaffolding and take longer to work safely.
- Repairs first: Stains, cracks, sagging board, and nail pops all add work before any texture goes on.
- Old texture coming off: If the old finish has to be removed first, that's a separate step. Popcorn ceiling removal has its own page.
- Testing: A pre-1990 ceiling adds a lab test and possibly some wait time before work starts.
- Pattern choice: Sprayed knockdown and orange peel go up faster. Hand patterns like swirl or heavy stipple take more time per square foot.
- Patch or full ceiling: A small blended patch costs less than a full retexture. A full retexture is sometimes the better buy if a patch won't blend.
- The room itself: An empty room is faster to cover and protect than a furnished living room with built-ins and fixtures.
- Several rooms at once: Doing more ceilings in one visit can save setup and cleanup time compared to booking them separately.
The most useful thing you can do is read the quote line by line. A low number can look good until you find out primer, repairs, or cleanup weren't included. Before you hire anyone, ask:
- Are repairs listed separately from the texture work?
- Is primer included before the texture goes on?
- Is painting after the texture part of this quote, or is that on me?
- Is covering, protection, and cleanup included?
- If you're matching an existing ceiling, where will the new texture stop?
- What happens if you find hidden damage once work starts?
If two quotes are far apart, the answer is usually in those questions. One contractor may have planned to re-tape the cracked seams and the other may have planned to texture right over them. An itemized quote lets you see that difference in writing before you agree to anything.
Calgary Drywall Doctor has been doing this work since 2004 and has completed more than 500 projects. It's licensed, WCB-covered, and insured, and it serves all four Calgary quadrants plus Airdrie, Cochrane, Chestermere, and Okotoks. Phone hours run Monday to Wednesday 9 a.m. to 9 p.m., Thursday to Saturday 9 a.m. to 7 p.m., and Sunday 9 a.m. to 5 p.m.