The hardest part of a drywall repair isn’t patching the hole — it’s making the patch disappear. Our crew matches knockdown, orange peel, skip trowel, and smooth finishes so the repair is invisible under raking light and after painting.
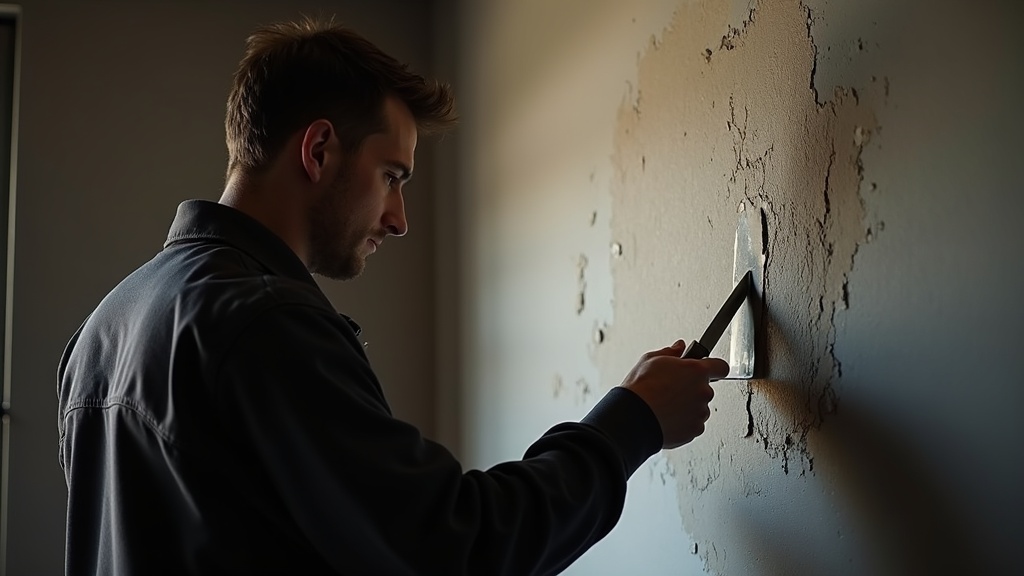
A well-executed drywall patch that doesn’t match the surrounding texture is still a visible repair. Paint doesn’t hide texture mismatches — it amplifies them. Light hits the wall at a low angle in the morning and evening, and any difference in texture profile shows immediately.
Most texture mismatches come down to three factors: incorrect tool settings (hopper pressure, nozzle size), wrong compound consistency, and not priming the repair before applying texture. Bare drywall compound absorbs moisture differently than a primed surface, which changes how the spray lands and dries.
Our crew does a sample patch on scrap board first, matches the profile under raking light, and only applies to the wall once the sample is right. That step adds 20 minutes and eliminates most of the callbacks other contractors get.
Different eras of Calgary home construction used different textures. Here’s what’s common and what matching each one involves.
The most common residential texture in Calgary homes built after 1990. Applied by spraying medium-viscosity compound and flattening the peaks with a drywall knife before it fully dries. Matching requires the right compound thickness and knife pressure — too much flattening and it looks smooth; too little and the peaks are too high.
A fine spray texture that looks like the skin of an orange — small, even bumps with no flat peaks. Applied with a hopper gun or aerosol. The key variable is air pressure and compound viscosity — too thin and it runs; too thick and the bumps are too large. We calibrate on scrap board before touching the wall.
A hand-applied texture with irregular flat patches separated by unfilled areas. Each applicator’s skip trowel looks slightly different — which makes matching harder than spray textures. We work from the edges of existing texture outward to blend into the pattern rather than stopping at a hard line.
No texture — fully flat surface. Any imperfection in the mud work is visible. Smooth repairs require the patch to be skimmed to perfectly flush, feathered out wide, and sanded without leaving swirl marks. This is the most skill-demanding match, and it’s why Level 5 finish work costs more.
Ceiling stipple texture (sometimes called popcorn or cottage cheese) was applied with rollers or brushes using thick compound. Matching requires replicating the exact stipple pattern before priming. On ceilings built before 1980, we always recommend asbestos testing before any work — see our popcorn ceiling removal page.
Fine silica sand added to paint or primer creates a subtle, consistent texture. Common in higher-end finishes and on accent walls. Matching involves the same sand-to-binder ratio and application method (roller nap matters). A test patch on the actual wall surface confirms the match before full application.
Texture matching isn’t a guess — it’s a process. Here’s how we approach every job.
We look at the texture profile, the age of the home, and any visible application patterns to determine what was used and how. Homes in Calgary’s NW quadrant built in the 1990s–2000s are almost always knockdown — but the specific profile varies by contractor.
The underlying drywall repair is completed first — proper tape, fill, and finish coats. The repair surface must be feathered flat to the surrounding wall before any texture goes on. Texture applied over a raised patch just looks like a raised patch with texture on it.
Bare drywall compound is highly porous. Applying texture to an unprimed surface changes how the compound dries and adheres — the texture looks different than it does on the surrounding primed surface. This step is non-negotiable.
We set the hopper pressure and compound viscosity, apply a test patch on scrap board, let it dry, and compare under raking light to the existing wall texture. This is where the calibration happens — before we touch your wall.
Once the texture is applied and dry, we inspect under raking light at close range. If it doesn’t look right, we fix it before calling the job done. We don’t sign off on a repair that’s going to be visible under paint.
A homeowner in Montgomery had a supply line drip behind a main floor wall — caught early, but the repair required a 14-inch section of drywall removed and replaced. The surrounding walls had orange peel texture applied in 1994, using equipment that’s no longer in common use.
The challenge: the original orange peel was slightly coarser than what most modern hopper guns produce at standard settings. We adjusted compound viscosity and reduced air pressure to replicate the larger bead size, ran three test patches on scrap board, and had a matching sample approved before touching the wall. Final inspection under raking light and with a phone camera flash — invisible. Painted the same day.
Not every texture match is this involved — most knockdown and orange peel homes built in the 1990s–2000s match on the first or second test patch. But this job shows what the sample process is for: catching the edge cases before they become visible failures.
Written quote before work starts. Raking light inspection before we leave. See our full drywall repair services for the complete scope of repair work we handle.