Full drywall installation for new construction, additions, and renovation projects. Right board type for every application. Written scope, scheduled around your other trades.
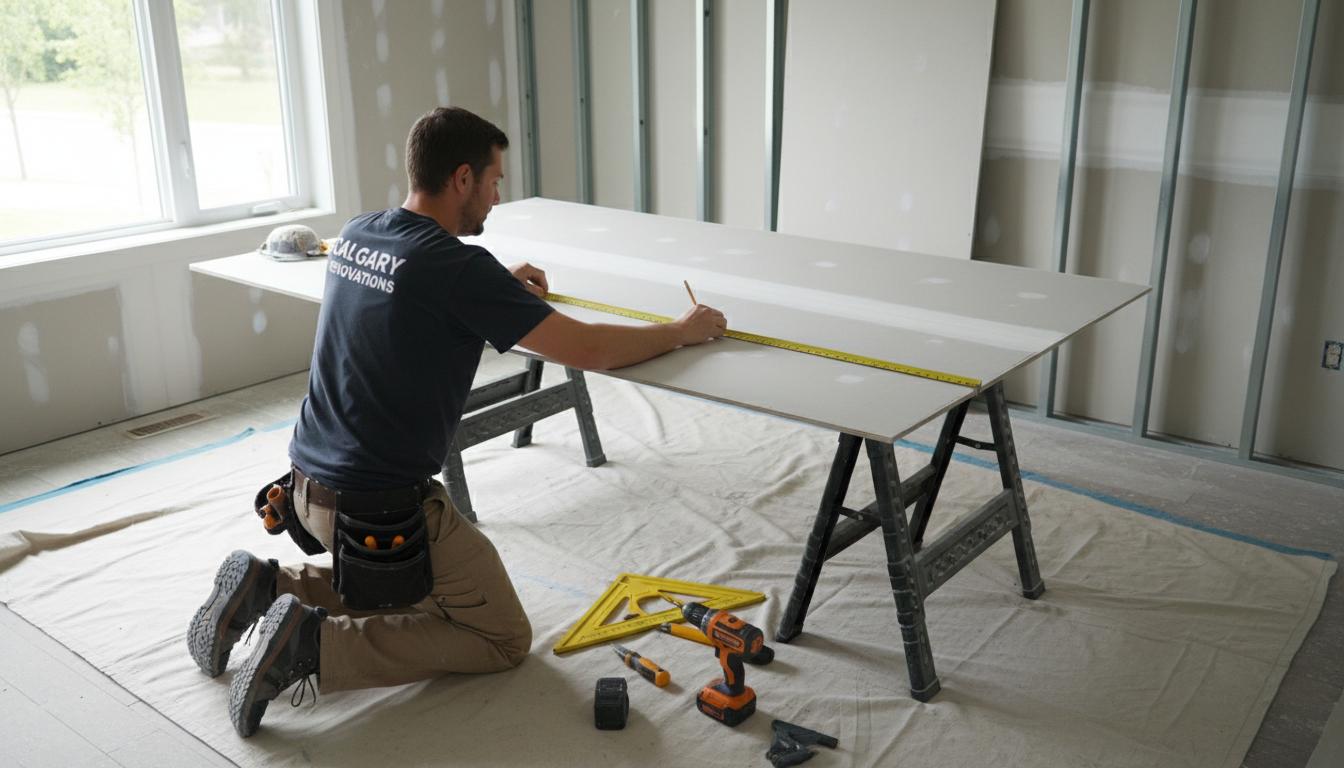
Drywall installation is where a renovation or new build goes from structure to space. Done right, it creates a clean, solid substrate that makes the painter's job easier and the finished room look the way it should. Done poorly, it creates problems that show up in every trade that follows — paint, trim, tile.
Our crew installs board efficiently without cutting corners on fastener patterns, board direction, or backing for fixtures. We confirm inspection readiness before we start and sequence our work around your other trades. Written scope, right board for every application, clean install.
If taping and finishing is also required, we provide that as a combined scope — or we can install only and hand off to your finishing crew. Either way, the scope is written before anything is ordered.
Not all drywall is the same. Using the wrong board in the wrong location is one of the most common and costly mistakes on Calgary renovation projects.
| Board Type | Where We Use It | Why It Matters |
|---|---|---|
| Standard ½" | Interior walls and ceilings in main-floor and upper-floor living spaces | The correct board for standard residential and commercial applications where moisture and fire rating are not factors |
| 5⁄8" Standard | Ceilings in rooms where sag resistance or impact resistance is required | Heavier board reduces sag on long ceiling spans and provides better sound attenuation |
| Moisture-Resistant | Basements, bathrooms, kitchens, laundry areas, any space adjacent to concrete | Paper-faced standard board absorbs moisture and grows mold. Moisture-resistant board uses a fibreglass mat facing that resists moisture migration |
| 5⁄8" Type X | Garage-to-living-space separations, party walls, fire-rated assemblies per permit | Required by Alberta Building Code for fire-rated assemblies. We confirm fire-rating requirements from the permit drawings before installation |
When is the right time in a construction project to start drywall installation?
After rough-in inspections are passed — electrical, plumbing, HVAC, and insulation all need to be signed off before board goes up. Starting before inspections means potentially cutting into new drywall for inspector access, which is expensive and avoidable. We confirm inspection status before we schedule our crew. On new construction, we also verify that the framing is dry — in Calgary, wood framing can retain moisture from winter construction, and boarding over wet lumber leads to nail pops, tape cracks, and dimensional changes in the finish surface.
What separates a quality drywall install from a fast one?
Three things: board direction, fastener pattern, and backing. Board should be hung horizontally on walls where possible to reduce the total length of seams and keep seams away from the corners of door and window openings — that's where cracks initiate. Fastener pattern matters because overdriven screws break the paper facing and provide no holding strength, and underdriven fasteners create bumps that show through the finish. Backing — installing blocking or additional framing at inside corners, ceiling transitions, and fixture locations — is what determines whether trim, cabinetry, and fixtures have solid material to fasten to. Most of these decisions happen during the install and aren't visible after the board is up. That's why the quality of the crew matters.
How do you decide which board to use in different areas of a Calgary renovation?
It starts with the permit drawings and the building code requirements for the specific assembly. Fire-rated walls and ceilings are specified — we don't make those decisions, we execute what's required. For moisture-sensitive areas, our default is moisture-resistant board in any space with potential moisture exposure: basements, bathrooms, laundry rooms, kitchens, and anything adjacent to an exterior wall below grade. Standard board in those locations is a problem waiting to happen in an Alberta climate. We specify the board type by area in the written scope so there's no ambiguity.
How do you sequence drywall installation around other trades on a renovation?
Communication first. Before we start, we confirm with the GC or homeowner what sequence the other trades are following and when they'll be done in each area. On large renovations, we often work in phases — boarding one section while another is still in rough-in. We don't push into areas that aren't ready, and we don't hold up trades that are waiting on us. When sequencing is tight, we provide daily progress updates to whoever is coordinating the project. The schedule commitment in the written scope includes phasing milestones where relevant.
Walk us through a drywall installation project in Calgary where trades coordination was critical.
A full second-floor addition on a home in Edgemont — new master suite and two bedrooms added above an existing garage. The framing crew finished in late fall, and there was a question about whether the lumber was dry enough to board. We ran moisture meter readings across the framing and found elevated readings in two areas near the exterior. We flagged it to the GC and delayed boarding those sections by a week while temporary heat was applied. The rest of the addition was boarded on schedule. The mechanical trades worked around us in the sections that were complete. By the time the delayed sections were ready, everything came together within the original project timeline. A week's delay on two walls saved a potential issue with nail pops and tape cracks that would have cost more than the delay.

A second-floor addition in Edgemont — new master suite and two bedrooms. Fall construction, framing recently complete. Moisture meter readings flagged elevated levels in two wall sections near the exterior.
We flagged it to the GC. Those sections delayed one week with temporary heat applied. The rest boarded on schedule, trades coordinated around completed sections.
Everything delivered within the original project timeline. A week's delay prevented nail pops, tape cracks, and a callback job at a cost far exceeding the delay.
Installation includes measuring and cutting sheets, hanging board on walls and ceilings, and securing to framing. Taping and finishing is a separate scope unless specified. We always clarify the full scope in writing before work begins.
After framing, rough-in electrical, plumbing, HVAC, and insulation inspections are complete and passed. We confirm inspection status before scheduling our crew to avoid cutting into new board for inspector access.
Hanging only runs approximately $0.50–$1.50 per square foot depending on ceiling height and complexity. Full installation including taping and finishing runs $1.50–$3.50 per square foot depending on finish level. We provide written quotes with itemized pricing.
Yes. We hang on both walls and ceilings. Ceiling work requires additional setup and is priced accordingly. We also install blocking and backing for fixtures, cabinetry, and hardware where specified.
Standard ½" for interior walls and ceilings. 5⁄8" Type X for fire-rated assemblies per permit. Moisture-resistant board for basements, bathrooms, kitchens, and any space adjacent to concrete. We specify board type by area in the written scope.
Written scope, right board for every area, scheduled around your other trades.