Level 4 and Level 5 drywall finishing in Calgary. The prep work your painter depends on — done right, with raking light inspection before the first brush stroke.
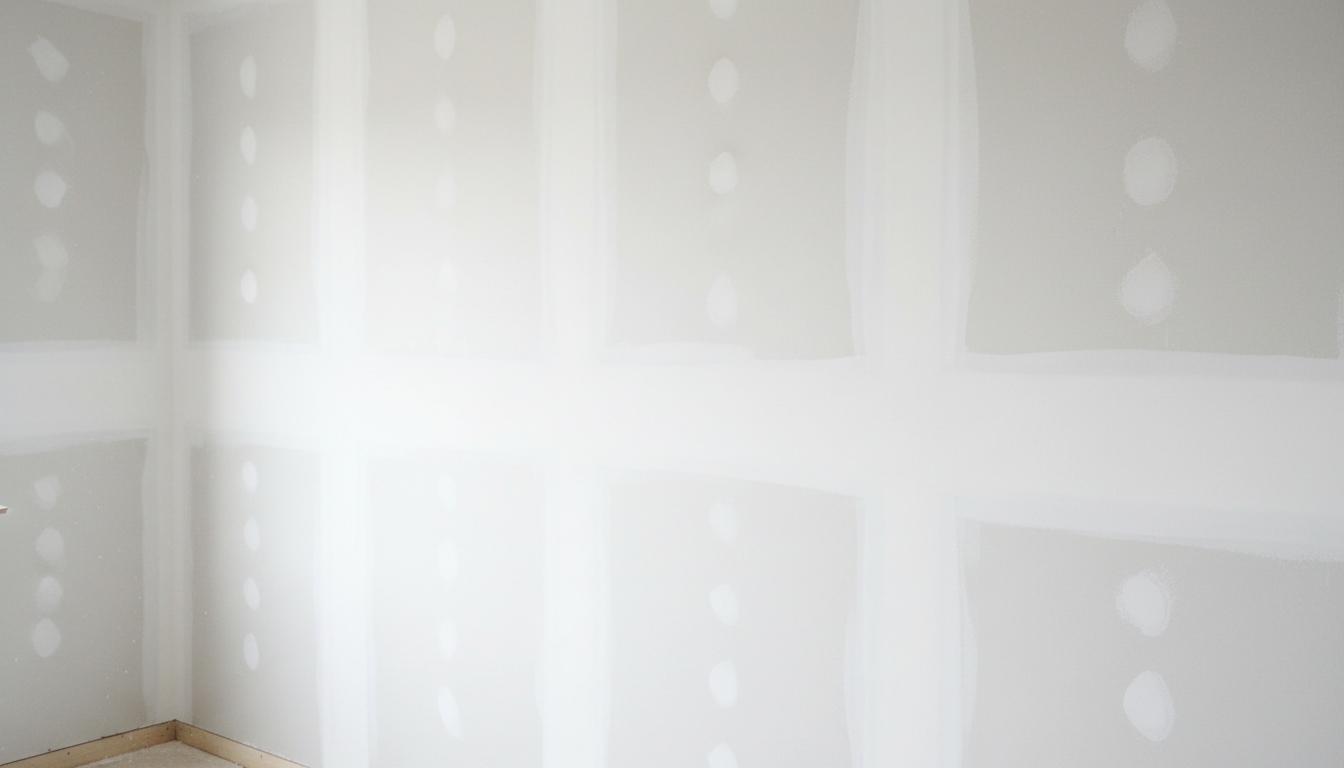
Drywall finishing is the last thing that happens before paint goes on the wall — and it's the thing that determines whether your paint looks professional or exposes every seam and imperfection under light.
Most Calgary builders default to Level 3 finish in living spaces. That's adequate for textured walls. It's not adequate for smooth painted surfaces. The difference between a wall that looks right and one that shows every joint under a pot light is the finish level and the quality of the work underneath.
We discuss finish level with every client before writing the scope. We specify it in writing. And before we hand off to your painter, we run a raking work light across every surface to catch imperfections under the same conditions your paint will reveal them.
Most homeowners don't know finish levels exist until they're unhappy with the paint job. Here's what each level means and when you need it.
| Level | What It Includes | Use Case | Paint Compatibility |
|---|---|---|---|
| Level 3 | Tape embedded, one additional coat, fasteners coated. Texture applied over top. | Garages, utility rooms, spaces with heavy texture | Texture only — shows through smooth paint |
| Level 4 | Tape embedded, two additional coats over tape and fasteners, smooth finish, minimal tool marks | Standard residential bedrooms, living rooms, kitchens | Satin, semi-gloss, gloss — not recommended for flat |
| Level 5 | Level 4 plus a full skim coat applied over the entire wall and ceiling surface | Premium spaces, accent walls, any room with flat or eggshell paint, pot lights or wall-washers | All paint sheens including flat and eggshell — the only level that works with these |
If your designer specified flat paint or your space has directional lighting, you need Level 5. We confirm this in writing before the scope is signed — not after the skim coat is skipped and the paint reveals every seam.
Why is drywall finishing considered a skilled trade, and what separates good finishing from mediocre?
Finishing looks straightforward but it's not. The core challenge is feathering — spreading compound far enough from the tape or fastener that the transition is invisible. Most DIYers and inexperienced finishers don't feather wide enough, which creates ridges that are visible under paint. A skilled finisher works in wide arcs, building up thin coats with enough spread that the surface is level when it's sanded. The sanding itself is another skill — knowing when to hand-sand vs. pole-sand, how much pressure to use, and how to check the surface by feel and raking light before declaring it ready. The difference between a Level 4 finish that looks like Level 4 and one that looks like Level 3 is almost entirely technique.
What exactly is a Level 5 skim coat, and what does the process look like?
A Level 5 finish adds a full skim coat — a thin, uniform layer of finishing compound — applied over the entire wall and ceiling surface after Level 4 is complete and sanded. The purpose is to create a consistent surface density across the board. Without it, paint absorbs differently over taped seams than over bare paper, which creates visible variations in sheen called "photographing." Level 5 eliminates that variation by covering the entire surface with the same material. The skim coat is typically two thin applications — one applied and skimmed off to a near-flat surface, one more for any missed areas — then fine-sanded before the pre-paint inspection. It adds cost and time, but it's the only way to deliver a finish that works with flat paint.
What is the raking light inspection and why does it matter before painting?
After the final sand, we position a work light at an oblique angle — raking light — across every surface. This is the harshest possible condition for showing imperfections: any ridge, tool mark, or surface variation that won't be visible under diffuse overhead light will be revealed under raking light. It replicates what happens when a pot light or table lamp hits the wall at an angle — the conditions under which a homeowner will eventually notice imperfections. We address anything that shows up before the painter arrives, not after. Every job we do includes this inspection as a standard step. It's not extra.
Can you provide finishing only if I've already had the drywall hung by another crew?
Yes. We take on taping and finishing work on board that was hung by someone else. We assess the install quality first — checking for overdriven screws, board gaps, and backing issues at corners and fixtures — and flag anything that needs to be addressed before we start finishing. If the board was hung poorly, we tell you upfront rather than finishing over a problem and having it show up later. The written scope for finish-only work is structured the same way as our full-scope jobs: finish level specified, timeline included, raking light inspection before handoff to your painter.
What's an example of a finishing problem you've been called in to fix in Calgary?
A new home in Thorncliffe — the builder's finishing crew had done a Level 3 finish on the entire main floor. The homeowner's designer specified flat paint throughout. The painter applied two coats, and every tape seam was visible under the dining room chandelier and the pot lights in the kitchen. The homeowner refused to close on the house. We were brought in to skim the entire main floor to Level 5, which required re-sanding areas where paint had already been applied. The work added cost and time to a project that was supposed to be complete. The original finishing was technically done to the builder's spec — Level 3 — but the spec was wrong for the paint the designer chose. That conversation should have happened before anyone picked up a knife. We have it at every pre-job meeting.

A new home in Thorncliffe. Builder finished to Level 3. Designer specified flat paint throughout. Painter applied two coats. Every tape seam was visible under pot lights and the dining room chandelier.
The homeowner refused to close on the house. We were called in to skim the entire main floor to Level 5 — over walls that had already been painted.
The fix cost more than the original finishing job. All of it preventable if the finish level conversation happened before the scope was written.
Level 5 is a full skim coat over the entire drywall surface. It's required when using flat or eggshell paint, because those sheens reveal surface variations under light. If you're using directional lighting like pot lights or wall-washers, Level 5 is strongly recommended regardless of sheen.
Level 4 coats tape and fasteners and produces a smooth surface. Level 5 adds a full skim coat over the entire surface. Level 5 is required for flat and eggshell paints; Level 4 is appropriate for satin and higher sheens.
Each coat of mud needs to dry before the next is applied. Level 4 on a standard room takes 3–5 days through final sand. Level 5 adds 1–2 days for the skim coat and additional sanding.
Yes. We assess the install first, flag any issues, and provide taping and finishing on your existing board. Finish level, timeline, and pre-paint inspection included in the written scope.
After final sand, we use a work light at an oblique angle across every surface to reveal any imperfections that would show under pot lights or directional lighting in the finished room. We address anything that shows up before we hand off to your painter — not after.
Written scope, finish level confirmed before we start, raking light inspection before your painter arrives.