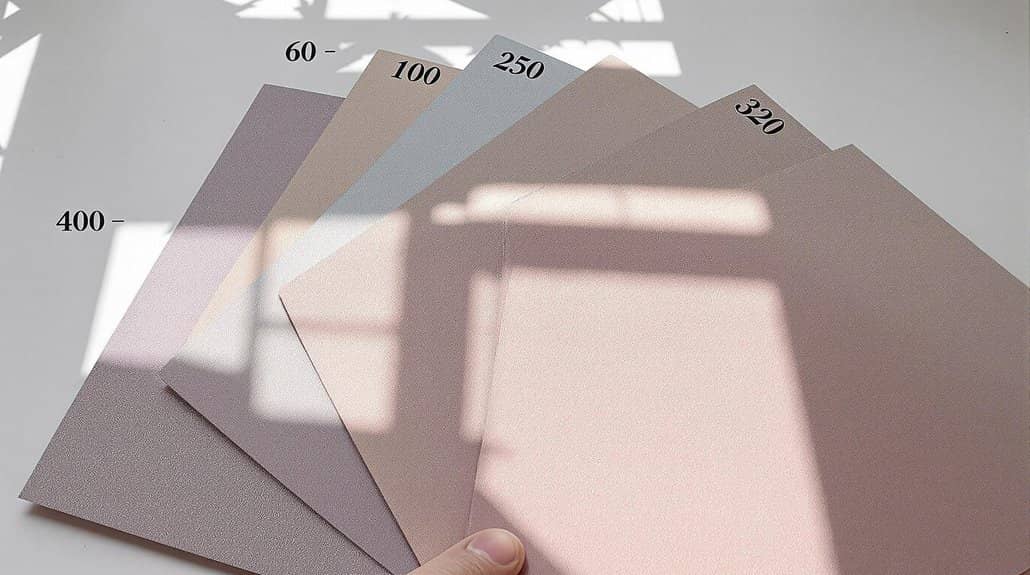
When prepping walls, you’ll need different sandpaper grits for specific stages. Start with medium grit (80-120) to smooth rough joint compound, then progress to fine grit (150-180) for your final pass before painting. Avoid coarse grits (40-60) on drywall to prevent damage, and use sanding sponges (150-220) for corners and edges. Proper grit selection guarantees professional results, while systematic progression through grits eliminates previous sanding marks. Understanding these distinctions will reveal the key to flawless wall preparation.
Key Takeaways
- Higher grit numbers (150-180) create finer finishes, while lower numbers (40-80) remove material more aggressively.
- Start with medium grit (80-120) for rough sanding drywall compound, then progress to fine grit (150-180) for final smoothing.
- Avoid coarse grits (40-60) on drywall surfaces as they can damage the material and create unwanted gouges.
- Use sanding sponges (150-220) for corners and edges, and pole sanders with 120-grit for large wall areas.
- Systematic progression through grits ensures complete removal of previous sanding marks and achieves professional results.
The Basics of Sanding Grit Classification

Understanding sandpaper grit classification is vital for achieving ideal surface preparation and finishing results. When you’re selecting sandpaper, you’ll need to know that grit sizes follow a numerical system where lower numbers indicate coarser grits, and higher numbers denote finer ones.
You’ll find coarse grits (40-80) necessary for aggressive material removal and to remove old paint. Medium grits (80-120) are your go-to for general surface preparation and initial smoothing. For a smooth surface that’s ready for paint, you’ll want fine grits (150-180), while very fine grits (220-240) deliver the polished finish you’re after. The key is progressing through the grits systematically – starting coarse and moving to finer grades – to achieve professional results without damaging your work surface.
Choosing the Right Grit for Wall Surfaces
When tackling wall surface preparation, selecting the appropriate sandpaper grit can make the difference between a professional finish and a damaged surface. Start with medium grit (80-120) for rough sanding to effectively smooth joint compound, then shift to fine grit (150-180) for the final pass. You’ll want to avoid coarse grit (40-60), as it can damage your drywall surface.
- Begin with medium grit sandpaper to remove major imperfections and level joint compound
- Progress to fine grit for creating a smooth surface that’s ideal for paint adhesion
- Use sanding sponges (150-220) for detailed work in corners and edges
Remember to work with progressively finer grits to achieve the best results. This systematic approach guarantees you’ll eliminate previous sanding marks while creating the perfect surface for painting.
Essential Tools and Equipment for Wall Sanding

Professional wall sanding demands a strategic selection of tools to achieve ideal results. You’ll need a diverse arsenal of sanding equipment to tackle different surface challenges effectively. Start with pole sanders using 120-grit sandpaper sheets for large wall areas, eliminating the need for ladders while maximizing coverage. For power tools, select appropriate sanding discs that’ll quickly remove material on extensive drywall surfaces.
Don’t overlook the importance of sanding sponges for detail work; their flexibility makes them perfect for corners and edges. When working with small patches, a hand sander with 150-grit paper delivers precise control and a smooth finish. Match your tool to the task: coarse sandpaper for initial smoothing, medium grit for general preparation, and fine sandpaper for final touches. This systematic approach guarantees professional-grade results on every project.
Common Wall Surface Problems and Their Grit Solutions
Diverse wall surface problems require specific grit selections to achieve ideal results. When you’re facing challenging surfaces, choosing the right grit can make all the difference in achieving a professional finish. Coarse grit (40-60) is used for heavy removal of peeling paint and excess compound, while medium grit (80-120) helps smooth uneven surfaces effectively.
- For textured walls, start with medium grit (100-150) to level out the surface before painting
- When patching holes, highly recommend progressing through a range of grits from coarse to fine (40-60, then 100-150)
- Fine grit (150-180) creates that smooth surface ready for paint application
Step-by-Step Grit Progression Guide

Following a systematic grit progression guarantees ideal surface preparation and professional results. You’ll want to match your sandpaper grits to each stage of your drywall project, starting with coarse and working toward finer options.
| Stage | Grit Number | Purpose |
|---|---|---|
| Initial | 40-60 | Remove major flaws |
| Middle | 80-120 | Smooth compounds |
| Final | 150-240 | Perfect finish |
Using your sanding block, begin with coarse grits (40-60) to tackle heavy imperfections. Once you’ve addressed major issues, switch to medium grits (80-120) for general smoothing. Complete your surface prep with fine grits (150-180), or depending on your finish requirements, progress to very fine grits (220-240) for high-gloss applications. Remember, never skip grit levels – doing so can leave unwanted scratches that’ll show through your paint.
Professional Tips for Achieving Smooth Results
To achieve flawless drywall surfaces, mastering proper sanding techniques is essential. When you’re working on a project using different types of sandpaper, start with the right grit sandpaper – 80-120 grit – to effectively smooth joint compounds without risking surface damage. As you progress to finer grits (150-180), you’ll achieve a smooth finish that’s perfect for paint adhesion.
- Always sand with the grain to minimize visible scratches and create uniform results
- Use sanding sponges in corners and edges where traditional sandpaper can’t effectively reach
- Check your work frequently, adjusting pressure and technique as needed
Remember to shift gradually between grits, and don’t rush the process. Professional results come from methodical attention to detail and using the appropriate tools for each stage of your surface preparation.
Safety Measures and Best Practices

Safe sanding practices require proper protective equipment and workspace preparation before starting any project. You’ll need to wear a dust mask and eye protection to shield yourself from harmful particles and debris while working. Guarantee proper ventilation in your workspace by opening windows or using fans to prevent dust accumulation.
When tackling sanding edges and corners, apply consistent, controlled pressure to avoid damaging the surface. Keep your electrical tools well-maintained and follow manufacturer guidelines to prevent accidents. You’ll want to regularly inspect and maintain your sanding equipment, replacing worn sandpaper as needed for peak performance. These safety measures aren’t just recommendations – they’re critical practices that protect you and guarantee professional results. Remember, proper preparation and maintenance of your tools directly impact both your safety and work quality.
Frequently Asked Questions
What Grit Sandpaper Is Best for Wall Prep?
You’ll want to start with 80-120 grit for initial wall surface prep, then progress to 150-180 grit for final sanding. This combination of sandpaper types guarantees the best finish quality during your preparation process.
What Grit Sandpaper for Drywall Prep?
You’ll want to start with 80-120 grit for initial drywall sanding, move to 100 grit for seams, and finish with 150-180 grit for a paint-ready surface. Always sand progressively for best results.
What Grit Sandpaper to Use for Paint Prep?
For paint prep, start with 80-120 grit to remove imperfections and guarantee proper paint adhesion. Then switch to 150-180 grit for surface smoothness. You’ll want 220-grit for final passes on high-gloss finishes.
What Grit Sandpaper Is Best for Prepping?
For ideal wall prepping, you’ll want to start with 80-120 grit for initial surface smoothing, progress to 100-grit for main drywall sanding, and finish with 150-180 grit to guarantee perfect paint adhesion.
Conclusion
Proper grit selection and progression remain crucial to achieving professional-quality wall surfaces. You’ll need to progress from coarse (80-100) to medium (120-150) to fine (220+) grits systematically, addressing specific surface issues at each stage. Maintain consistent pressure, use appropriate tools, and don’t skip grit levels. Following these technical guidelines, paired with proper dust containment measures, guarantees ideal surface preparation for your final finish.