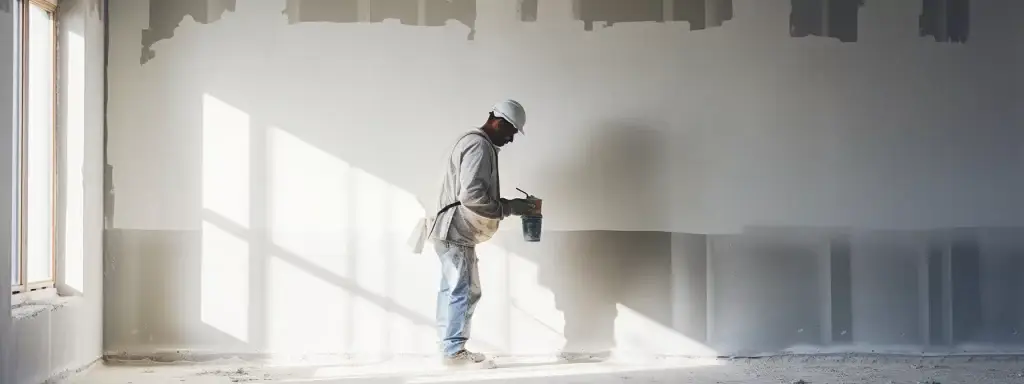
Mold spores on drywall is not a pleasant thing to deal with, but there are solutions. We will outline five of the best tips for dealing with mold on bathroom or basement drywall and any other location. How to clean it off and make sure it doesn’t come back.
The drywall in your bathroom was meant to provide a low-maintenance backdrop, but it’s also an inviting habitat for mold. Surface Mold loves moisture and will be all over anything with enough exposure; this includes walls like the ones you have right now! If you see green or black spots on any part of them (or even just realize that they’re there!), then get rid of those pesky things ASAP — because if we can prevent this from happening, our showers’ aesthetics will stay intact!
Mold isn’t only bad aesthetically: It triggers allergies and respiratory diseases which can affect your health.
Removing Mold on Drywall surfaces for good
In the unfortunate event that you have a mold growth problem on your drywall, there are five methods for cleaning and killing it. The severity of growth will determine which one is best suited to use in order to effectively remove the mold.
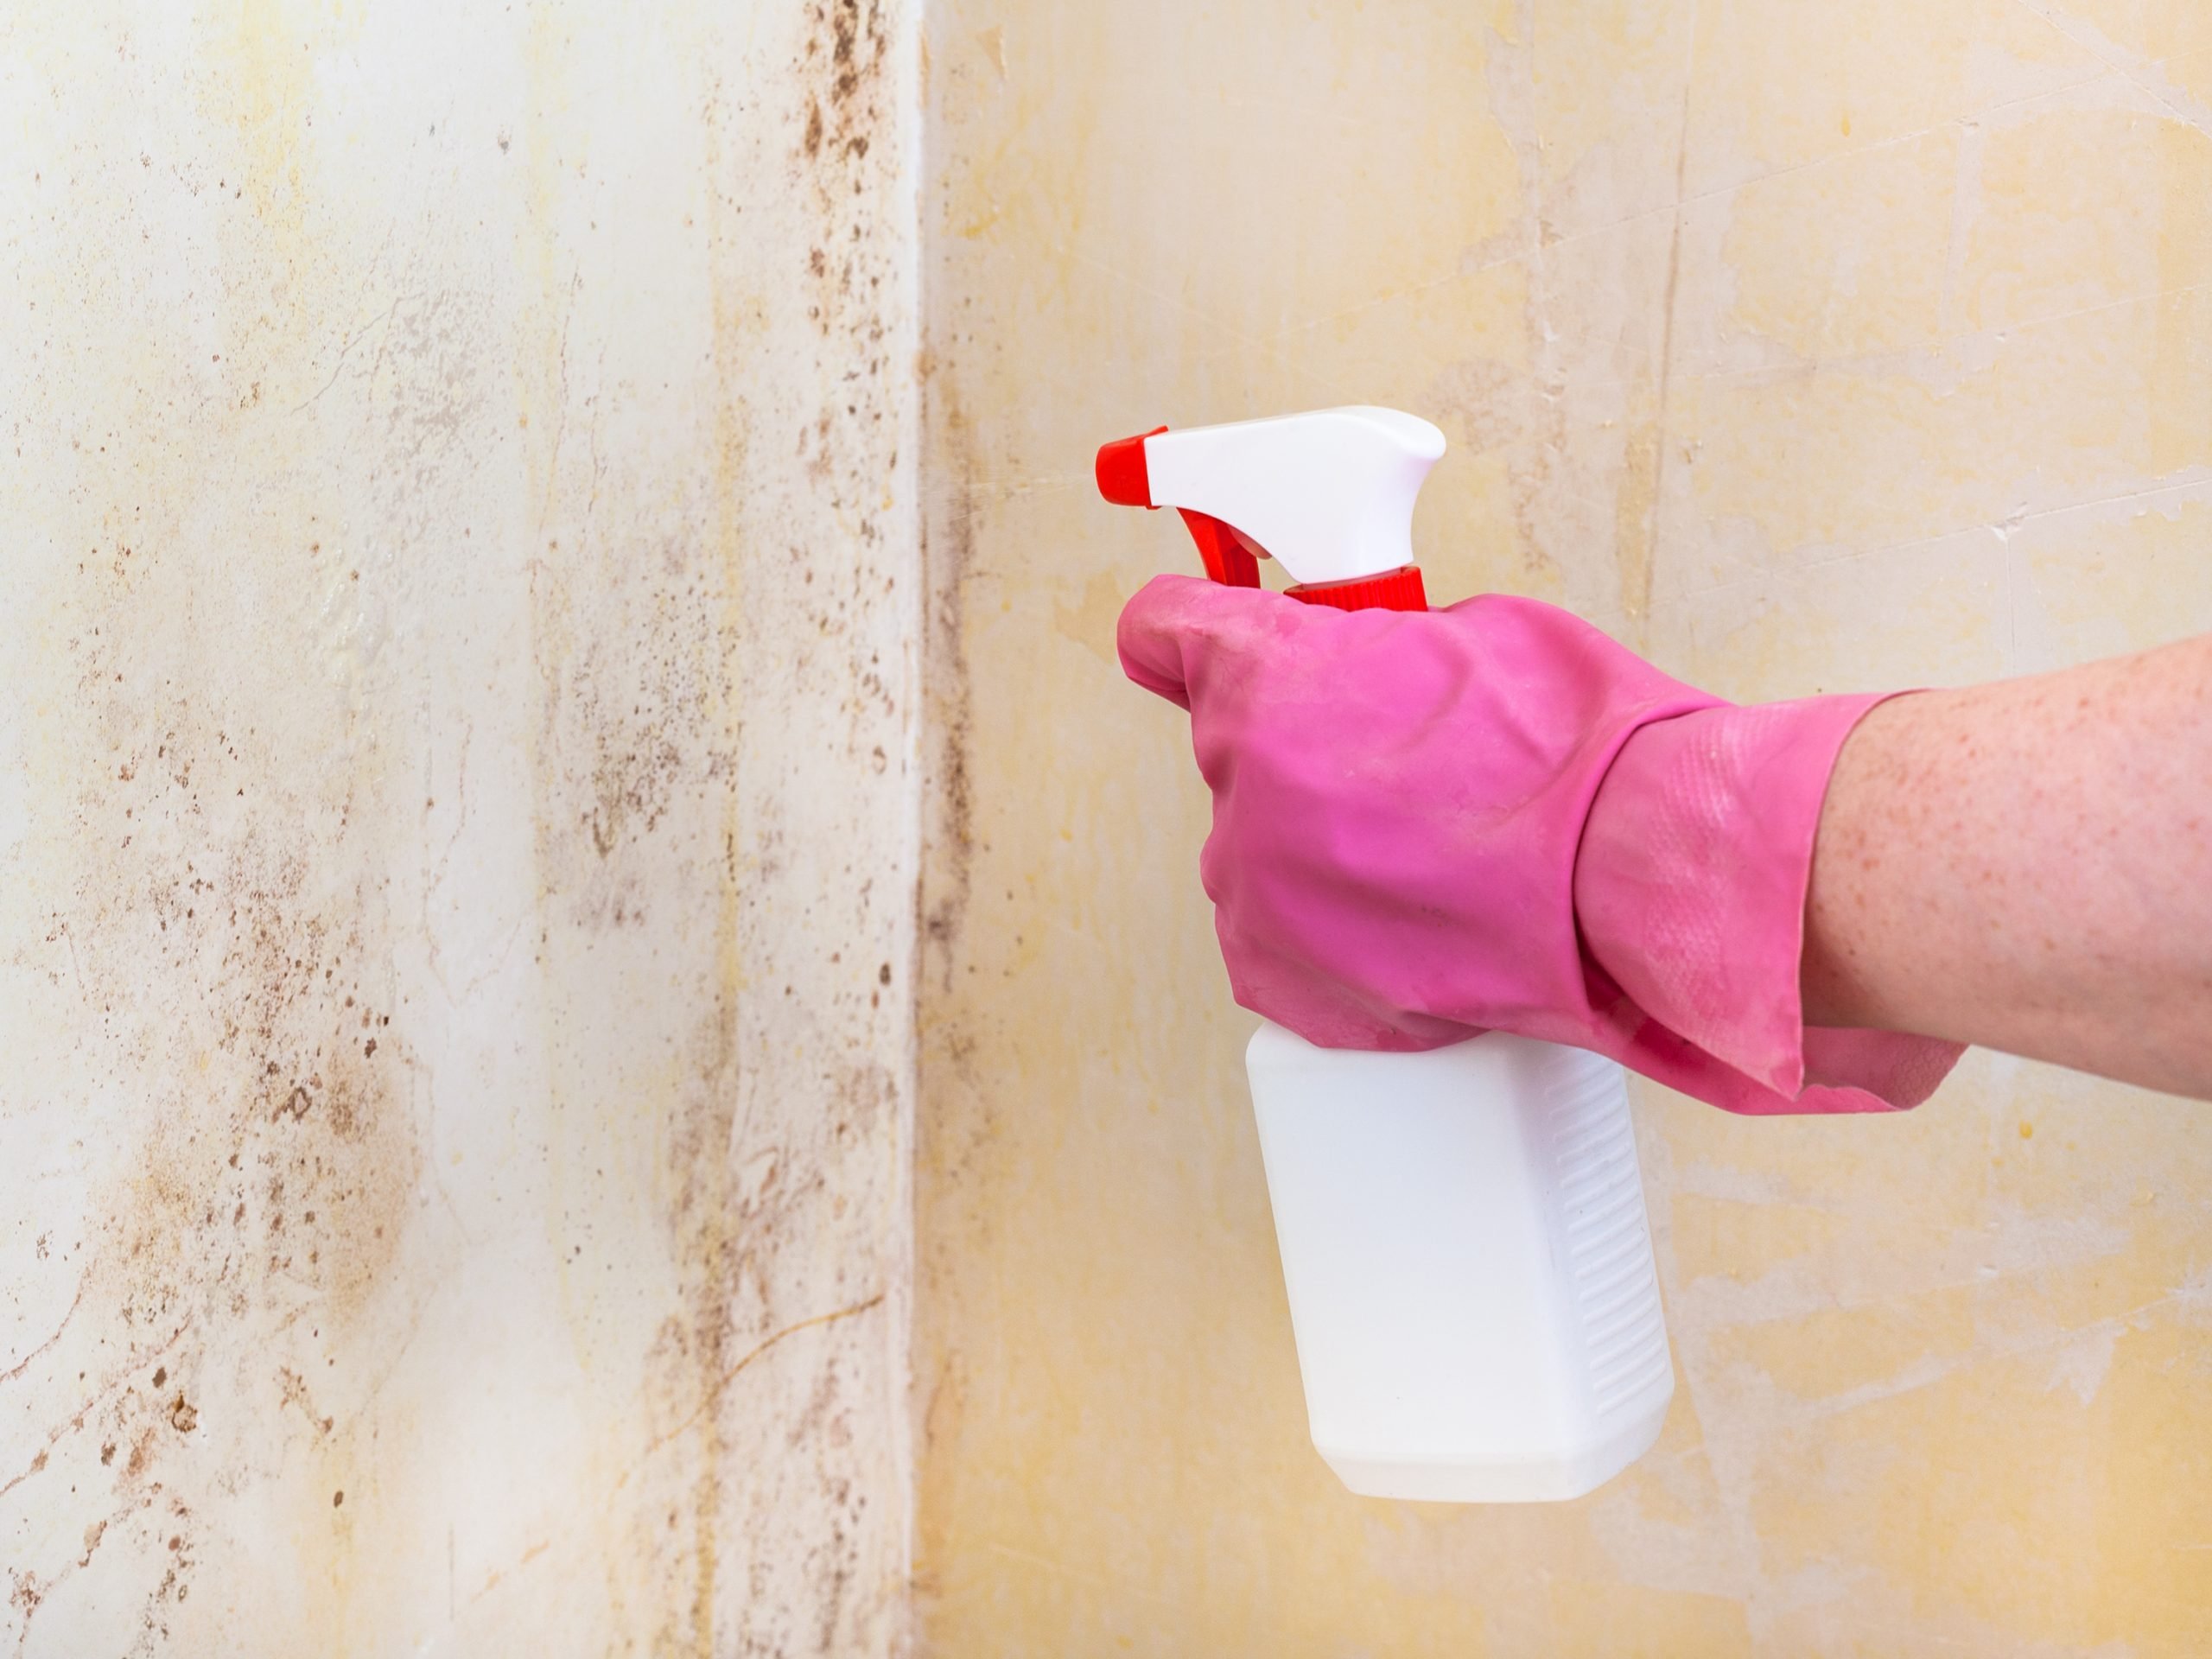
Don’t forget to wear safety equipment including goggles & gloves! After completing clean up ventilate well because this is the time mold spores are released into the air.
Water with Bleach
If you’re dealing with moldy drywall that’s still in its early stages, mix half a cup of bleach to one quart (or liter) water. Then brush it onto your wall until the molds go away and leave it on – this will allow for more control over which spores are killed off by the harsh chemical agent so only those nasty ones hiding within getting eradicated without risking overspray or residual product left behind when rinsing later down the road!
Common Detergent
The options for mold remover at your local store are endless. So, keep in mind what kind of fungus you’re trying to get rid of when making choices about which product will work the best!
Vinegar with Water
To avoid chemicals, try a mixture of equal parts water and vinegar to serve as your cleaning solution. It will get rid of some mold but only works on 82% of spores or large settled infestations that are not responsive to it .
Hydrogen Peroxide
Hydrogen peroxide is a great alternative to bleach because it doesn’t damage your paint job and can be used at 3 percent. You may want to spot test this before applying, but if not just spray the mold with regularity until dry for 10 minutes then wipe off any excess residue from its surface.
Ammonia
Ammonia is a toxic chemical that you shouldn’t use at home unless absolutely necessary. Furthermore, drywall doesn’t absorb it as well as bleach. This means you’ll have to use much more ammonia than bleach for it to be effective.
Prevent Mold growth is the Key
Never use ammonia with bleach. These two chemicals produce a toxic gas that can be harmful to your health.
Conclusion
Drywall is a great surface for the home, but it can be a breeding ground for mold. If you notice any growing on your drywall contact us today! You need to remove mold on drywall. Especially white mold on drywall. Our team will help get rid of all those pesky contaminants so that life feels better again
Killing mold on drywall may not seem like much when there’s just one small spot visible – until they multiply into large colonies which are harmful enough themselves yet combined could cause serious health problems including lung infections and asthma-related symptoms. Luckily these pests have easy solutions.